
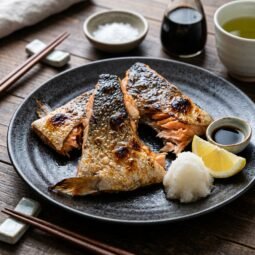
Ask a Japanese home cook which part of the salmon they fight over, and the answer is usually the collar. Called kama in Japanese, it is the curved piece just behind the head, where the gills meet the belly. It is fatty, juicy, a little messy to eat, and often one of the cheapest cuts at the fish counter. This salmon kama recipe keeps things classic: salt, heat, a squeeze of lemon, and a pile of grated daikon on the side. The skin blisters and crackles under the broiler while the meat underneath stays soft and rich.
If you have only ever cooked tidy salmon fillets, the collar can look a bit intimidating, with its fin, bones, and odd shape. It is actually one of the easiest pieces of fish to get right. The high fat content gives you a wide margin for error, so it rarely dries out. Below you will find what kama is, how to buy and clean it, the step-by-step broiler method, air fryer and grill options, a few glaze ideas, and how to actually eat the thing once it lands on your plate.
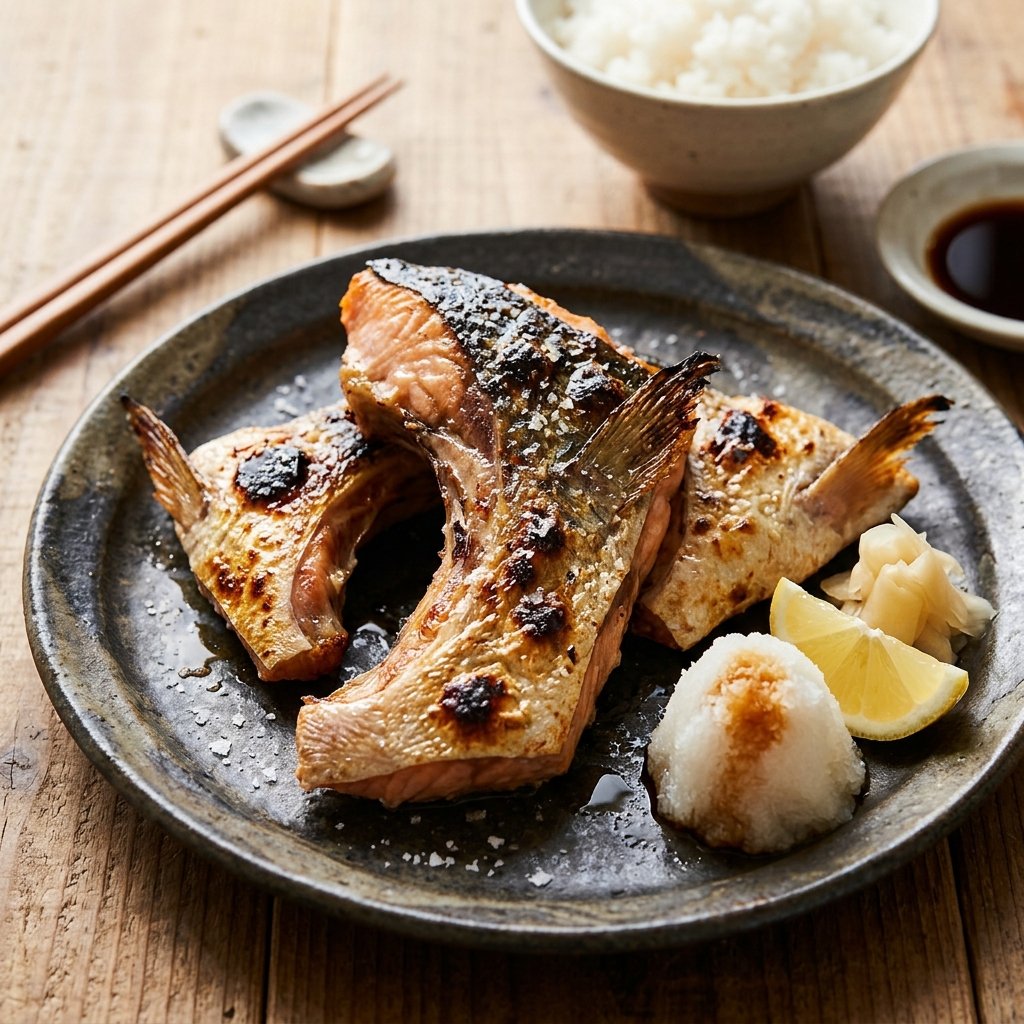
Salmon Kama at a Glance
| Detail | What to expect |
|---|---|
| Cut | Salmon collar (kama), the section behind the gills |
| Main method | Shioyaki (salt-grilled) under the broiler |
| Hands-on time | About 10 minutes |
| Salting time | 10 to 15 minutes |
| Cooking time | 10 to 14 minutes |
| Serves | 2 as a main, 4 as part of a shared meal |
| Flavor | Rich, savory, smoky edges, clean salt finish |
| Skill level | Easy |
What Is Salmon Kama?
Kama (カマ) is the Japanese word for the collar of a fish. On a salmon it is the crescent-shaped piece cut from just behind the gill plate, running down toward the belly. Each fish has two collars, one on each side. The cut usually includes part of the pectoral fin, a curved strip of bone, a thick band of skin, and a surprising amount of meat tucked into the corners.
Because the collar sits right next to the belly, it carries a lot of the same fat that makes salmon belly so prized. That fat bastes the meat as it cooks, which is why grilled collar tastes so much richer than a standard fillet. In Japan, grilled collar from salmon, yellowtail (hamachi kama), or tuna shows up on izakaya menus as a drinking snack and in home kitchens as an easy weeknight dish served with rice and miso soup.
Fish processors trim the collar off when they cut fillets, and many Western shoppers do not know what to do with it. That leaves plenty of collars on ice at Asian grocery stores and fishmongers, often priced well below fillets. For a cook who does not mind picking around a few bones, that is a bargain.
Why This Salmon Kama Recipe Works
- Dry brining with salt. Salting the collars for 10 to 15 minutes seasons the meat and pulls moisture to the surface. Patting that moisture away is what lets the skin turn crisp instead of steaming.
- High, direct heat. The broiler (or a hot grill) chars the edges and renders the fat under the skin before the thick parts overcook.
- Skin-side down first. Starting with the skin facing away from the heat lets the flesh side set, then the flip gives the skin its final blistering, blackened finish.
- Daikon and citrus. Grated daikon radish and lemon cut through the richness so every bite tastes clean, not heavy.
How to Buy Salmon Collars
Look for salmon collars at Japanese and Korean supermarkets, many Asian grocery chains, and good fish counters. Some stores keep them frozen in vacuum packs; others sell them fresh on ice next to the heads and bones. If you do not see them, ask the fishmonger. Shops that cut whole salmon in house often set collars aside or will save them for you.
- Smell: Fresh collars should smell clean and briny, like the ocean, never sour or fishy.
- Look: The flesh should be bright orange to deep coral, with firm, glossy skin and no dry or brown edges.
- Size: Collars from Atlantic or king salmon are larger and fattier. Sockeye and coho collars are smaller and leaner but still flavorful. Plan on one large collar or two small ones per person for a main dish.
- Frozen is fine: Well-frozen collars work just as well. Thaw them overnight in the refrigerator, not on the counter.
The FDA has a helpful guide on selecting and serving fresh and frozen seafood safely if you want a quick checklist before you shop.
Ingredients for Salmon Kama
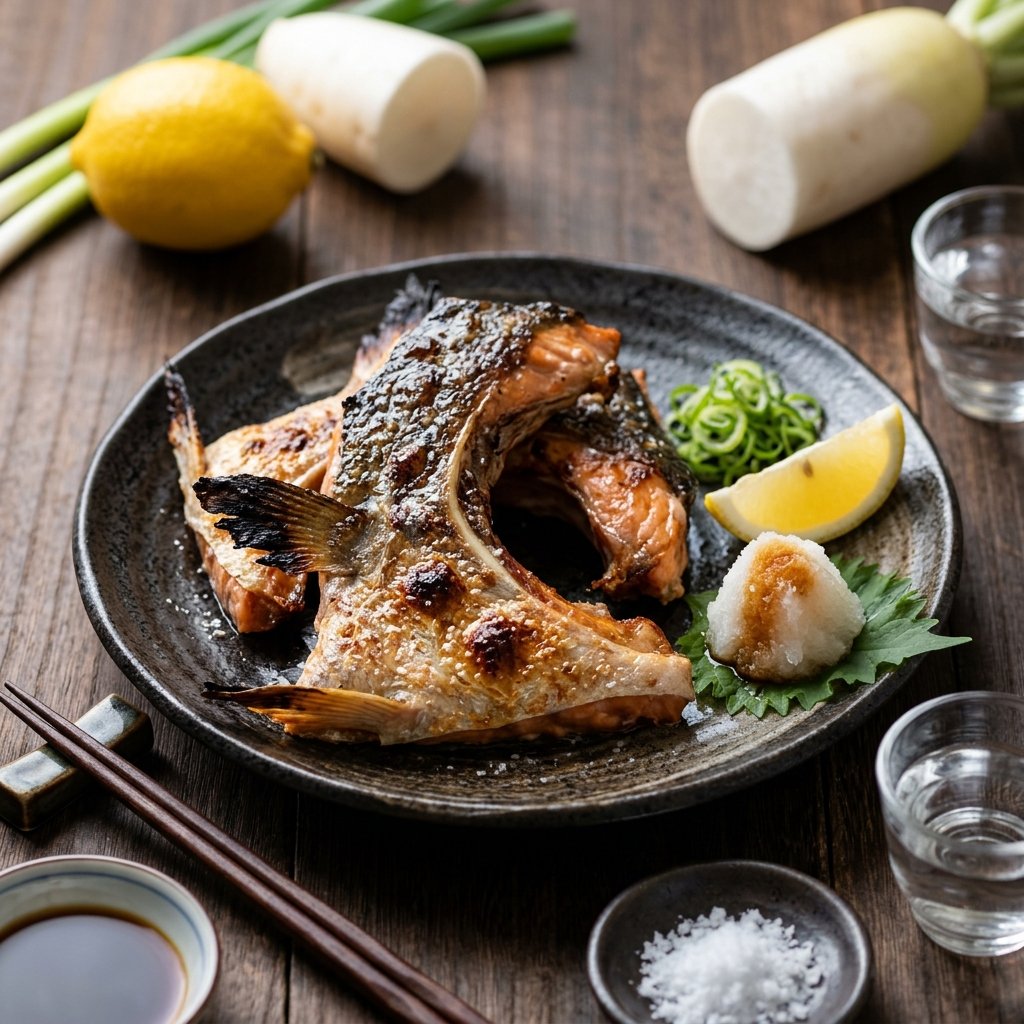
The traditional version needs almost nothing, which is part of its charm. Exact amounts are in the recipe card below.
- Salmon collars (kama): About 1 1/2 pounds total, usually 2 to 4 pieces depending on size.
- Coarse sea salt or kosher salt: Coarse salt clings to the skin and seasons evenly. If you only have fine table salt, use roughly half as much.
- Lemon: Cut into wedges for squeezing at the table. Lime or yuzu also work.
- Daikon radish: Finely grated (daikon oroshi). Its mild bite and juiciness balance the fatty fish.
- Soy sauce or ponzu: A small dish for dipping or drizzling over the daikon.
- Optional garnishes: Thinly sliced green onion, shichimi togarashi, or a few shiso leaves.
How to Clean and Prep the Collars
Collars sometimes come with bits of gill, blood, or scales still attached, so a few minutes of prep makes a real difference in the final taste.
- Rinse the collars under cold running water. Rub away any dark blood along the bone with your thumb.
- Run the back of a knife against the skin, from tail end toward the head end, to remove any loose scales.
- Check for any red, feathery gill pieces near the top of the collar and pull or trim them off. They taste bitter.
- If the collar is still joined as one V-shaped piece, cut through the center bone with a heavy knife or kitchen shears so you have two halves. Smaller pieces cook more evenly.
- Pat everything very dry with paper towels, including the folds near the fin.
How to Make This Salmon Kama Recipe Step by Step
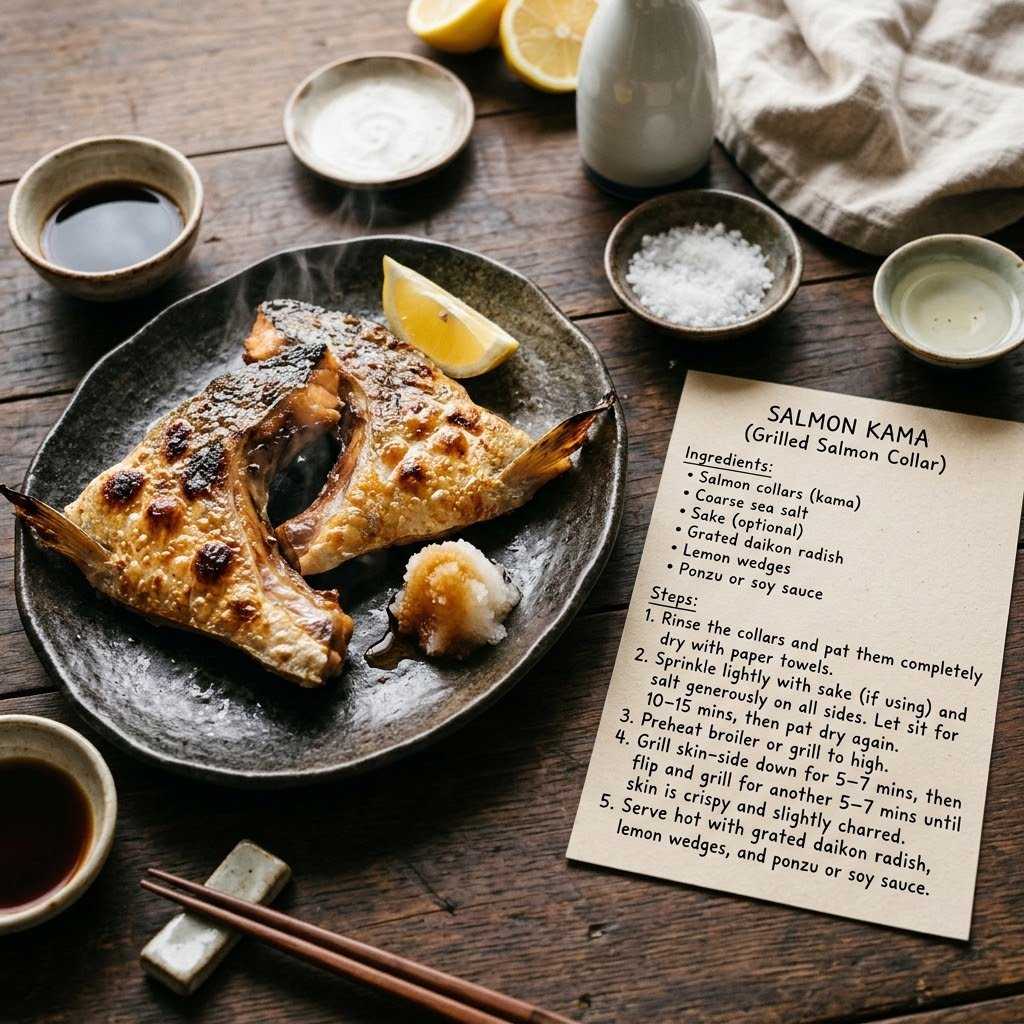
1. Salt the collars
Lay the collars on a plate or tray and sprinkle coarse salt generously on all sides, especially the skin. Let them sit for 10 to 15 minutes. You will see beads of moisture appear on the surface. That liquid carries some of the fishy smell away with it.
2. Dry them again
Blot off the moisture with fresh paper towels. Do not rinse the salt off. A dry surface is the single biggest factor in getting crisp, crackly skin.
3. Heat the broiler
Position an oven rack so the top of the fish will sit about 4 to 6 inches from the broiler element, then preheat on high for at least 5 minutes. Line a rimmed baking sheet with foil and set a lightly oiled wire rack on top. The rack lets fat drip away and keeps the bottom from stewing in its own juices.
4. Broil skin-side down
Arrange the collars on the rack skin-side down. Broil for 5 to 7 minutes, until the flesh turns opaque and the thinner edges start to brown. If your fin tips are long, you can wrap them in a small piece of foil so they do not burn to ash.
5. Flip and finish
Carefully turn the collars with tongs or a thin spatula so the skin faces the heat. Broil another 5 to 7 minutes, until the skin bubbles, chars in spots, and pulls back from the bone a little. Watch closely in the last two minutes; broilers vary a lot, and the line between deeply charred and burnt is short.
6. Check doneness and serve
The meat near the thickest part of the bone should flake easily with a chopstick and look opaque all the way through. The USDA’s safe minimum internal temperature chart lists 145°F for fish, which you can confirm with an instant-read thermometer. Serve right away with grated daikon, lemon wedges, and a small dish of soy sauce or ponzu.
Other Ways to Cook Salmon Collar
The broiler is the most reliable indoor method, but this salmon kama recipe adapts easily to whatever equipment you have. The timings below assume medium collars around 6 to 8 ounces each.
| Method | Heat | Approximate time | Notes |
|---|---|---|---|
| Broiler | High, 4–6 in. from element | 10–14 min total | Skin-side down first, then flip. Best crisp-to-effort ratio. |
| Charcoal or gas grill | Medium-high, about 450°F | 10–14 min total | Oil the grates well. Start flesh-side down for grill marks, then skin-side down to render. |
| Air fryer | 400°F | 12–15 min | Skin-side up in one layer; no flip needed. Check at 10 minutes. |
| Oven | 425°F on a rack | 15–20 min | Finish under the broiler for 2 minutes for color. |
| Cast-iron pan | Medium-high | 10–12 min | Skin-side down first, press gently; expect some spatter. |
Grilled salmon kama
Grilling adds a light smokiness that suits the fatty meat. Clean and oil the grates thoroughly, since collar skin likes to stick. Use tongs and a spatula together to flip, sliding the spatula under the skin first. If flare-ups from dripping fat get wild, move the collars to the cooler side of the grill for a minute. For more fish on the grill, our grilled ahi tuna uses a similar high-heat approach.
Air fryer salmon kama
The air fryer is handy for one or two collars. Lay them skin-side up in a single layer with a little space between pieces so the air can move. There is no need to add oil; the collar releases plenty of its own fat. If you like the air fryer for fish, try our hot honey air fryer salmon on a night when you have fillets instead of collars.
Flavor Variations
Salt-grilled kama is the classic, but the collar takes well to bolder flavors. Apply sweet glazes only in the last few minutes, because sugar burns quickly under high heat.
- Miso glaze: Stir together 2 tablespoons white miso, 1 tablespoon mirin, 1 teaspoon sugar, and 1 teaspoon sake. Skip the long salting (miso is salty), and brush the glaze on during the final 2 to 3 minutes.
- Teriyaki: Simmer equal parts soy sauce, mirin, and sake with a little sugar until syrupy. Brush on after the flip and again just before serving.
- Shio koji: Rub the collars with shio koji and refrigerate for a few hours or overnight. Wipe off the excess before cooking. The koji tenderizes the meat and adds deep savory flavor, but it browns faster, so keep a close eye on it.
- Spicy gochujang: Mix gochujang with a little honey, soy sauce, and sesame oil for a Korean-style finish.
- Garlic butter and herbs: For a non-Japanese take, brush with melted butter, garlic, and lemon zest, then finish with chopped parsley.
How to Eat Salmon Kama
Collar is a hands-and-chopsticks kind of dish. Do not be shy about picking it up. A few tips make it easier:
- Start with the thick meat along the outer curve. It lifts off the bone in large flakes.
- Turn the piece over and look for the pockets of soft, fatty meat tucked around the bones near the fin. Many people consider these the best bites.
- The crispy skin is edible and full of flavor. Eat it with a bit of daikon to balance the fat.
- The thin rib-like bones are easy to see and pull out. Work slowly, and keep a small plate nearby for bones and fins.
- Squeeze lemon over the fish just before eating, not before cooking, so the skin stays crisp.
What to Serve with Salmon Kama
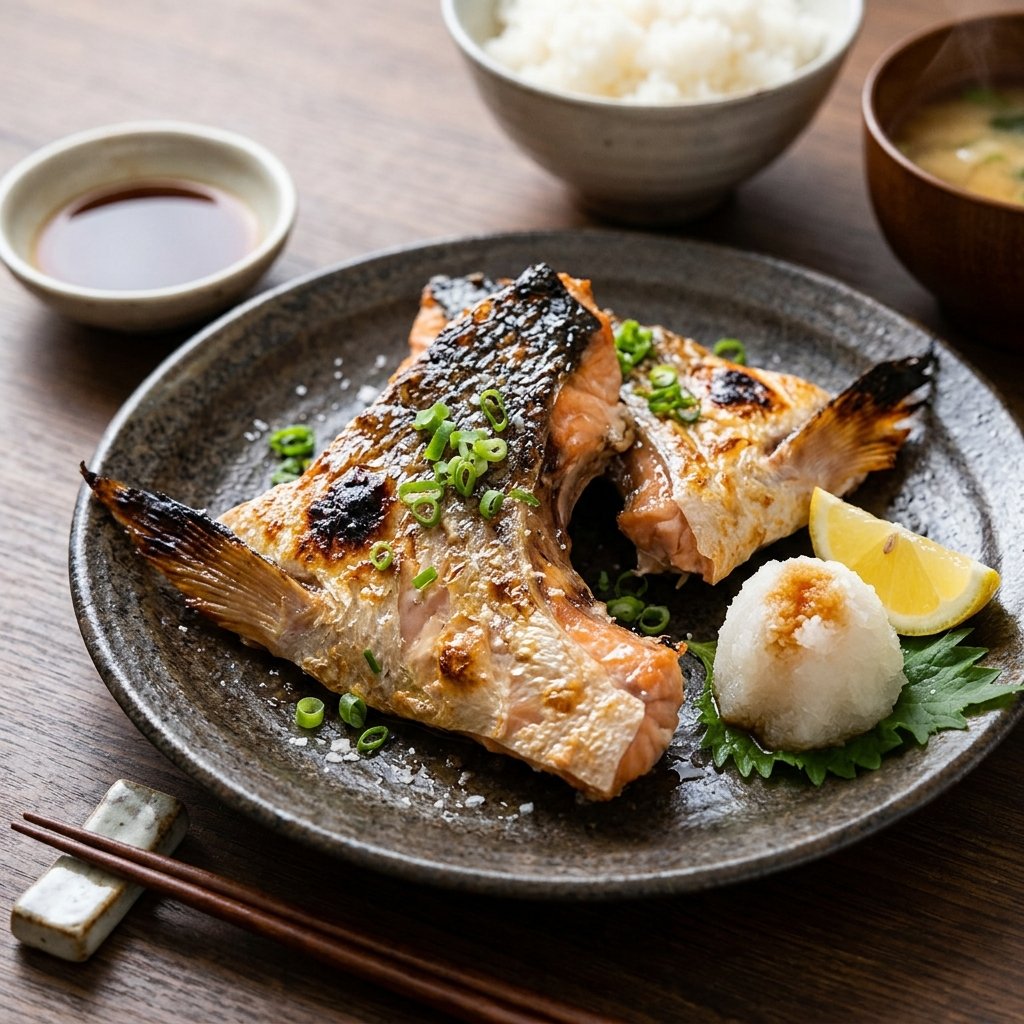
At a Japanese table, grilled collar is usually part of a simple set meal: steamed short-grain rice, miso soup, and a small pickled or vegetable side. That combination works perfectly at home too.
- Steamed rice: Japanese short-grain rice soaks up the salty, fatty juices.
- Miso soup: A light tofu and wakame miso soup rounds out the meal.
- Crisp salads: A crunchy oriental coleslaw or a tangy cucumber salad cuts through the richness.
- Pickles: Quick pickled cucumbers, takuan (yellow pickled daikon), or our sour cucumber pickles.
- Greens: Blanched spinach with sesame dressing (gomaae) or stir-fried bok choy.
Common Salmon Kama Recipe Mistakes to Avoid
- Skipping the drying step. Wet skin steams and turns rubbery. Pat dry before and after salting.
- Crowding the pan. Pieces that touch trap steam. Leave space between them on the rack.
- Walking away from the broiler. Fins and thin edges can go from golden to burnt in under a minute.
- Glazing too early. Miso, teriyaki, and honey glazes burn long before the fish is cooked. Add them at the end.
- Leaving gills or blood on the collar. These leftovers cause bitter, fishy flavors. Clean the collars well first.
- Under-salting. Collars are thick and fatty, so they need more salt than you might use on a thin fillet.
Storing and Using Leftovers
Grilled salmon kama tastes best hot off the heat, but leftovers are still useful. Let the fish cool, then refrigerate it in an airtight container for up to 2 days. Rewarm the collars in a 375°F oven or air fryer for 4 to 5 minutes to bring back some crispness. A microwave works but softens the skin.
Even better, pick the leftover meat off the bones and use it in other dishes:
- Onigiri: Mix flaked salmon into warm rice, season lightly with salt, and shape into rice balls.
- Ochazuke: Place flaked salmon over a bowl of rice, pour hot green tea or dashi over it, and top with nori and sesame seeds.
- Fried rice: Toss the flakes into fried rice with egg and green onion in the last minute of cooking.
- Salmon flakes (shake furikake): Cook the flaked meat in a dry pan with a little sake and soy sauce until dry and fluffy, then store in the fridge as a rice topping.
Raw collars can be frozen in a freezer bag, with as much air pressed out as possible, for up to 3 months. If you enjoy experimenting with less common salmon, our kokanee salmon recipe is another good one to try, and our brine for smoked fish works well for salmon trimmings.
Salmon Kama Recipe Card
Here is the full printable version with measurements and timings for the broiler method.
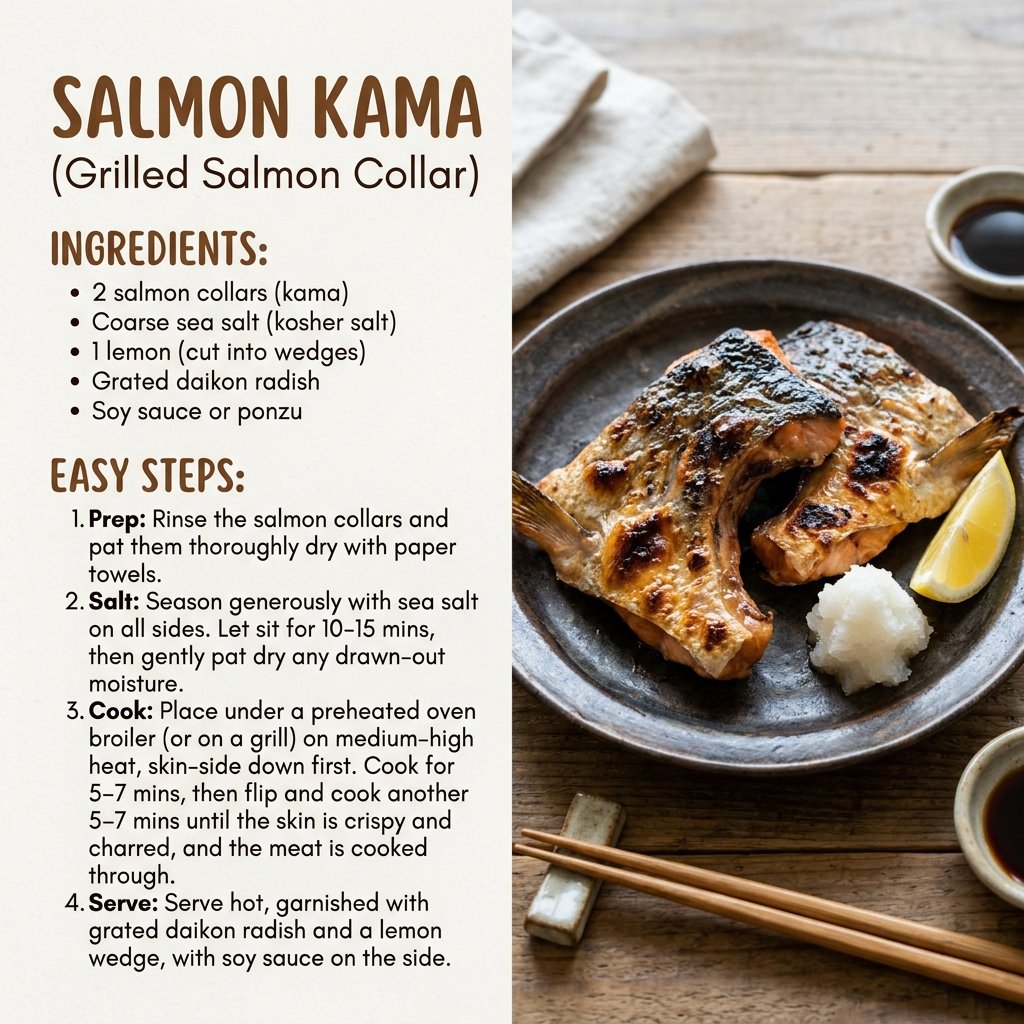
Salmon Kama (Salt-Grilled Salmon Collar)
Equipment
- Rimmed baking sheet
- Wire rack
- Grater (for daikon)
- Instant-read thermometer
Ingredients
- 1 1/2 lb salmon collars (kama) 2 to 4 pieces, cleaned and split if joined
- 1 1/2 tsp coarse sea salt or kosher salt use about half as much fine salt
- 1 lemon cut into wedges
- 1 cup grated daikon radish from a 4 to 5 inch piece, lightly squeezed
- 2 tbsp soy sauce or ponzu for serving
- 1 green onion thinly sliced, optional
- shichimi togarashi optional, for serving
- 1 tsp neutral oil for the rack
Instructions
- Clean: Rinse the collars under cold water, rubbing away any blood along the bone. Scrape off loose scales, remove any gill pieces, and cut joined V-shaped collars in half through the center bone.
- Salt: Pat the collars dry, then sprinkle coarse salt generously on all sides, especially the skin. Let rest 10 to 15 minutes.
- Dry again: Blot off the moisture that appears on the surface with paper towels. Do not rinse off the salt.
- Preheat: Set an oven rack 4 to 6 inches below the broiler and preheat on high for 5 minutes. Line a rimmed baking sheet with foil and set a lightly oiled wire rack on top.
- Broil skin-side down: Arrange the collars skin-side down on the rack with space between them. Broil 5 to 7 minutes, until the flesh is opaque and the edges begin to brown. Wrap long fin tips in foil if they start to burn.
- Flip and finish: Turn the collars skin-side up and broil another 5 to 7 minutes, until the skin blisters and chars in spots and the meat near the bone flakes easily (145°F).
- Serve: Plate with grated daikon, lemon wedges, and a small dish of soy sauce or ponzu. Garnish with green onion and shichimi togarashi if you like.
Notes
Frequently Asked Questions
What part of the salmon is the kama?
Kama is the collar, the curved section just behind the gills where the head meets the body. It includes part of the pectoral fin, some bone, and fatty meat that connects to the belly.
Does salmon kama have a lot of bones?
It has more bone than a fillet, mainly the curved collar bone and some fine rib-like bones near the fin. They are large and easy to see, so the meat picks off easily once cooked.
Is salmon collar fattier than a fillet?
Yes. Because it sits next to the belly, the collar is one of the fattiest parts of the fish. That fat keeps it moist and gives it a richer flavor than most fillet cuts.
Can I cook salmon kama from frozen?
It is better to thaw the collars overnight in the refrigerator first. Thawed fish can be salted and dried properly, which is what gives you crisp skin and even cooking.
How do I know when salmon kama is done?
The flesh near the thickest part of the bone should be opaque and flake easily. An instant-read thermometer should read 145°F in the thickest part, avoiding the bone.
Can I use yellowtail or other fish collars with this recipe?
Yes. Hamachi (yellowtail), tuna, and other larger fish collars work with the same salting and broiling method. Larger collars may need a few extra minutes per side.
Why is my salmon kama skin not crispy?
Usually the skin was not dried well enough, the pieces were crowded, or the heat was not high enough. Pat the collars dry after salting, give them space on a rack, and preheat the broiler fully.
What sauce goes with salmon kama?
Ponzu and soy sauce are the classic choices, usually with grated daikon and lemon. A light miso glaze or teriyaki sauce also works if you want something sweeter.
Final Thoughts
This salmon kama recipe proves that some of the best eating on a fish comes from the pieces most people pass over. With a sprinkle of salt, a hot broiler, and about 25 minutes from start to finish, you get crackling skin, juicy, deeply flavored meat, and a meal that feels special without much work. Pick up a few collars the next time you see them at the fish counter, set out some rice, daikon, and lemon, and enjoy picking every last bite off the bone.