
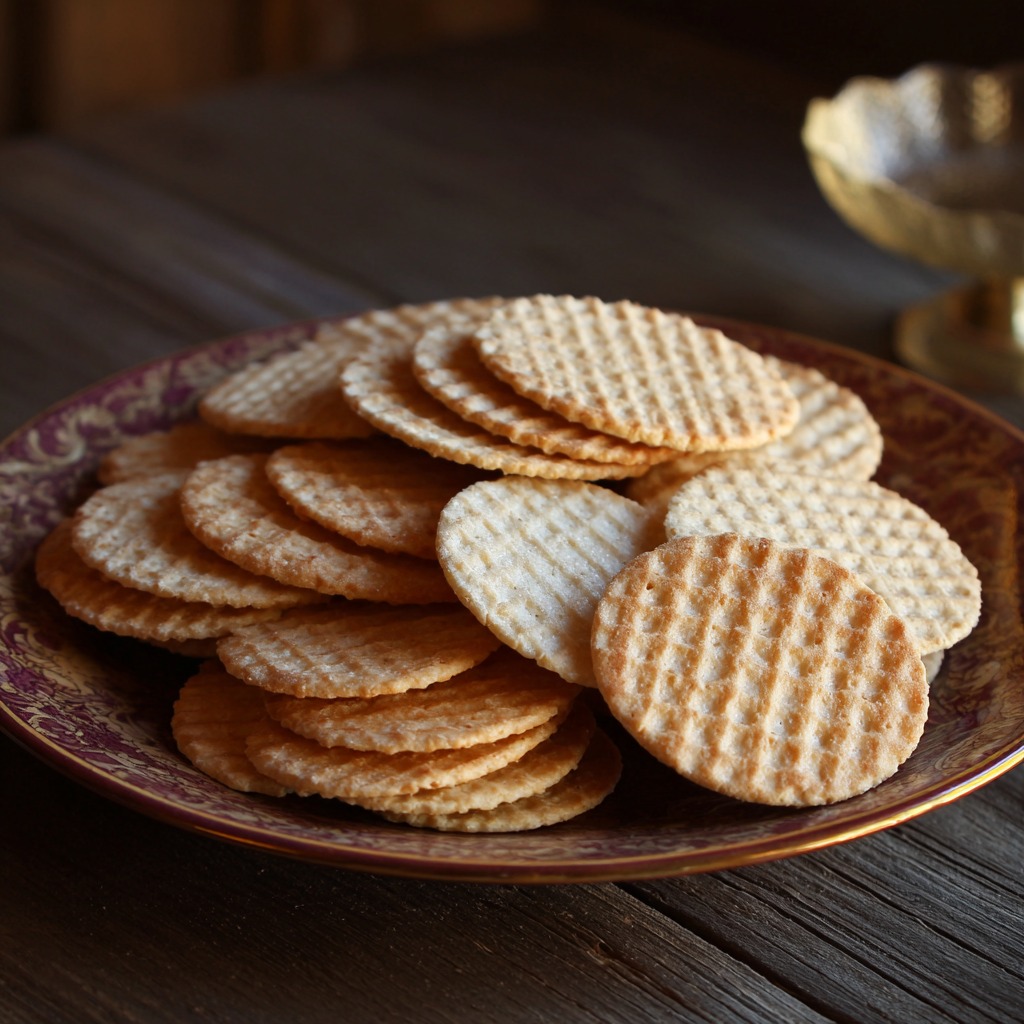
Gluten Free Communion Wafers Recipe: If you’re looking for a recipe that embodies culture, spirituality, and a hint of kitchen alchemy, you’re in the right place. We are producing gluten-free communion wafers, an excellent option for individuals on a gluten-free diet or those who wish to prepare homemade bread for communion. These communion wafers are also light and crisp, making them perfect for any faith-based occasion.
What is particularly wonderful about this recipe is that the gluten-free communion wafers are easy to prepare. There is also no need to purchase expensive or fancy ingredients. The recipe respects traditions while being easy to prepare for those with dietary needs, as gluten-free communion wafers are gluten-free. For all those pursuing a church or spiritual ceremony, this is a must-have for your festive preparations.
Even better, the wafers are versatile and serve a deeper purpose. Because they are tasty and straightforward, you can enjoy them as a snack with your preferred dip. So why not try this recipe? There is a chance you may be surprised at the simplicity of something that can be so divine.
For those who know me, I enjoy preparing gluten-free dishes, such as pancakes, that are versatile and tantalise the taste buds. This gluten-free communion wafer recipe stays true to the same philosophy—easy to prepare, gluten-free, and utterly delightful. Without further delay, let’s begin the journey of transforming your kitchen into a slice of lovely paradise today.
- What is Gluten-Free Communion Wafers?
- Why You'll Love These Gluten Free Communion Wafers Recipe
- How to Make Gluten Free Communion Wafers Recipe
- What to Serve Gluten Free Communion Wafers Recipe With
- Top Tips for Perfecting Gluten Free Communion Wafers Recipe
- 1. Pay Attention to Dough Consistency
- Storing and Reheating Tips for Gluten Free Communion Wafers Recipe
- Health Benefits of Gluten Free Communion Wafers Recipe
- Gluten Free Communion Wafers Recipe From DishBloom!
- Conclusion
- Share Your Twist!
What is Gluten-Free Communion Wafers?
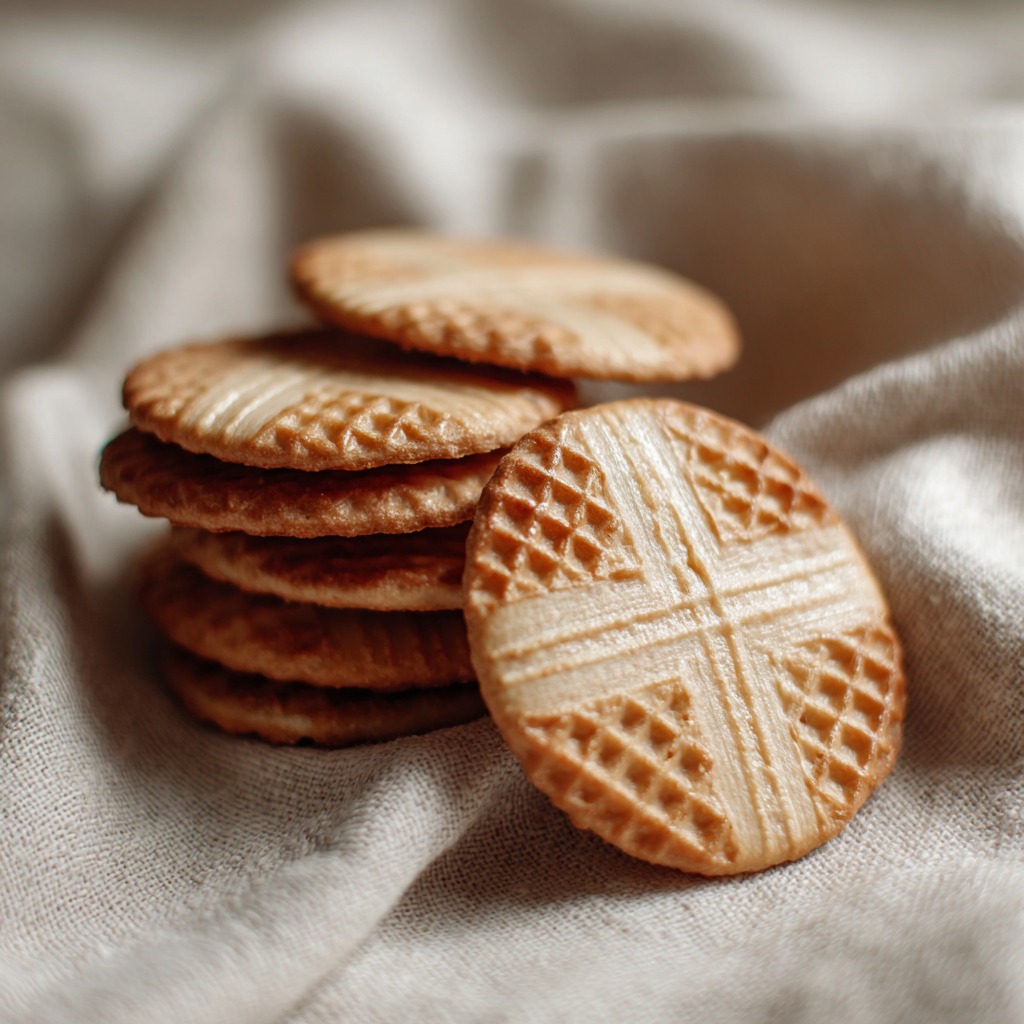
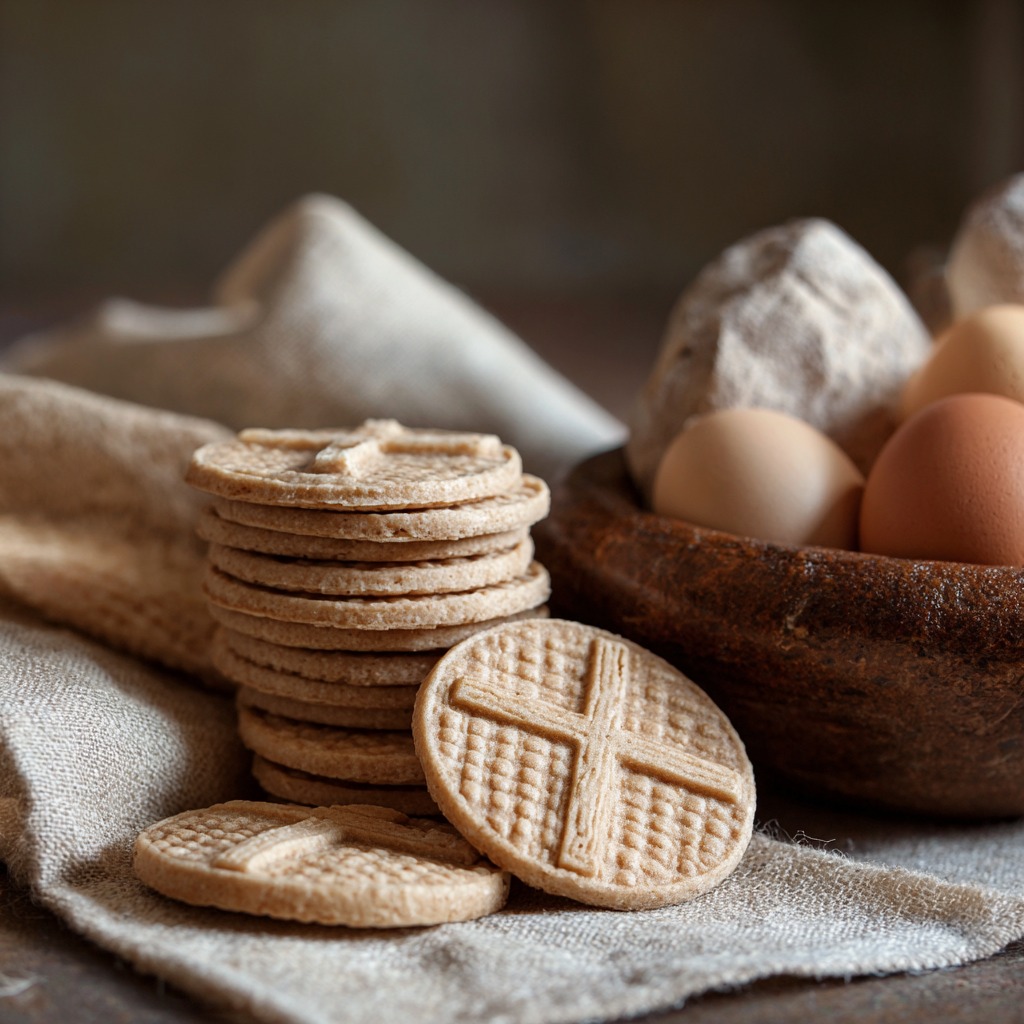
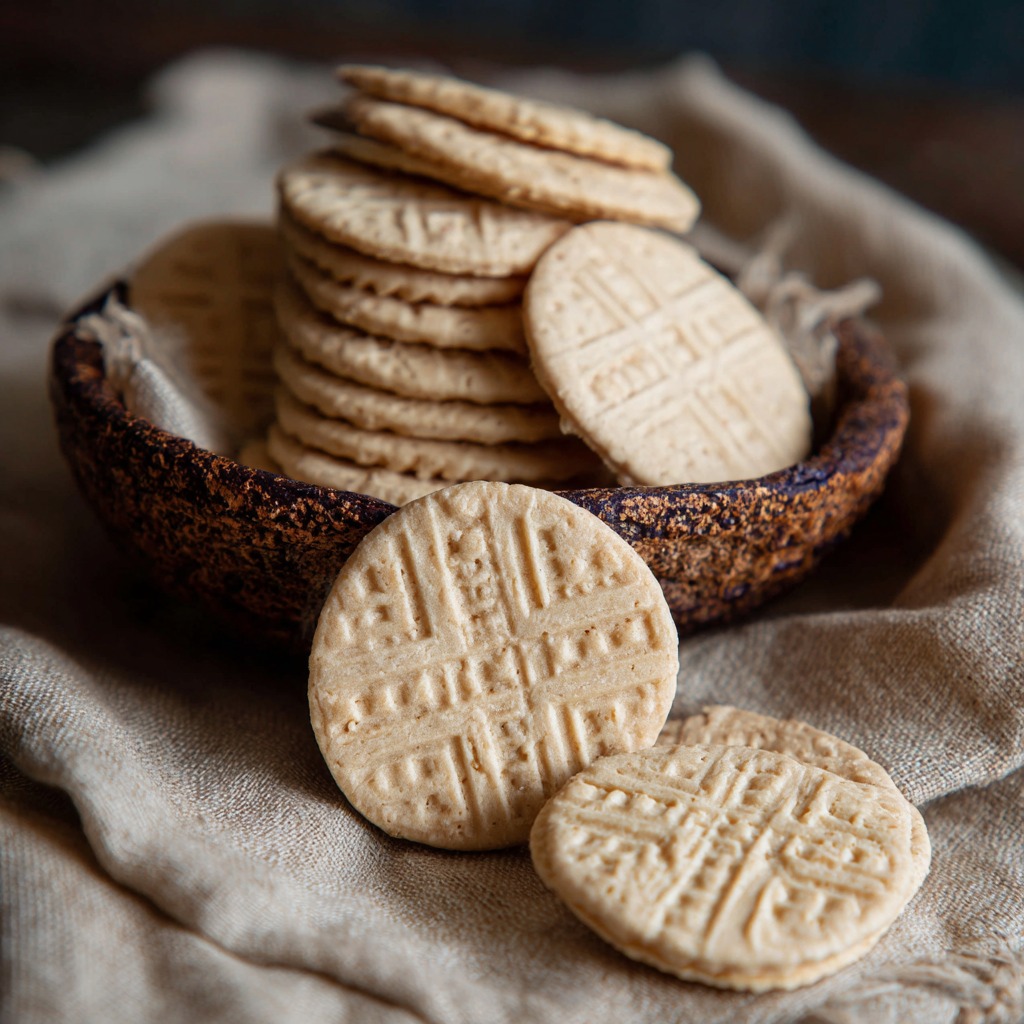
Ah, the title ” gluten-free communion wafers“– sounds pretty holy, doesn’t it? Yes, it is! Communion wafers are the tiny unleavened breads utilised in Christian celebrations of communion, which symbolise Christ’s body. Christ. Traditionally, made from water and flour, they are a significant element of the Christian faith, demonstrating simplicity and humility.
But wait! What happens to those who suffer from dietary restrictions such as celiac disease or gluten intolerance? That’s why gluten-free communion wafers come into play. These wafers are gluten-free alternatives, making them safe for all to enjoy. When you hear someone say that “The best way to reach a human’s heart lies through the stomach”, these wafers certainly hold the ability to touch not only the heart, but also the soul!
What makes these gluten-free wafers unique? Apart from their significance for spiritual reasons, they’re also straightforward to make and require only a handful of ingredients. The most appealing aspect is that you can take pleasure in something that is a perfect fit for your lifestyle and still adheres to the traditions. There’s something genuinely satisfying about creating something by hand, particularly when it’s as simple and essential as this.
Are you willing to give them a go? You ought to be
Why You’ll Love These Gluten Free Communion Wafers Recipe
Let’s be honest—gluten-free communion wafers are a hidden gem. Not only do they cater to specific dietary needs, but they also offer an excellent opportunity to embrace tradition in a way that’s accessible to everyone. Here’s why you’ll love this recipe:
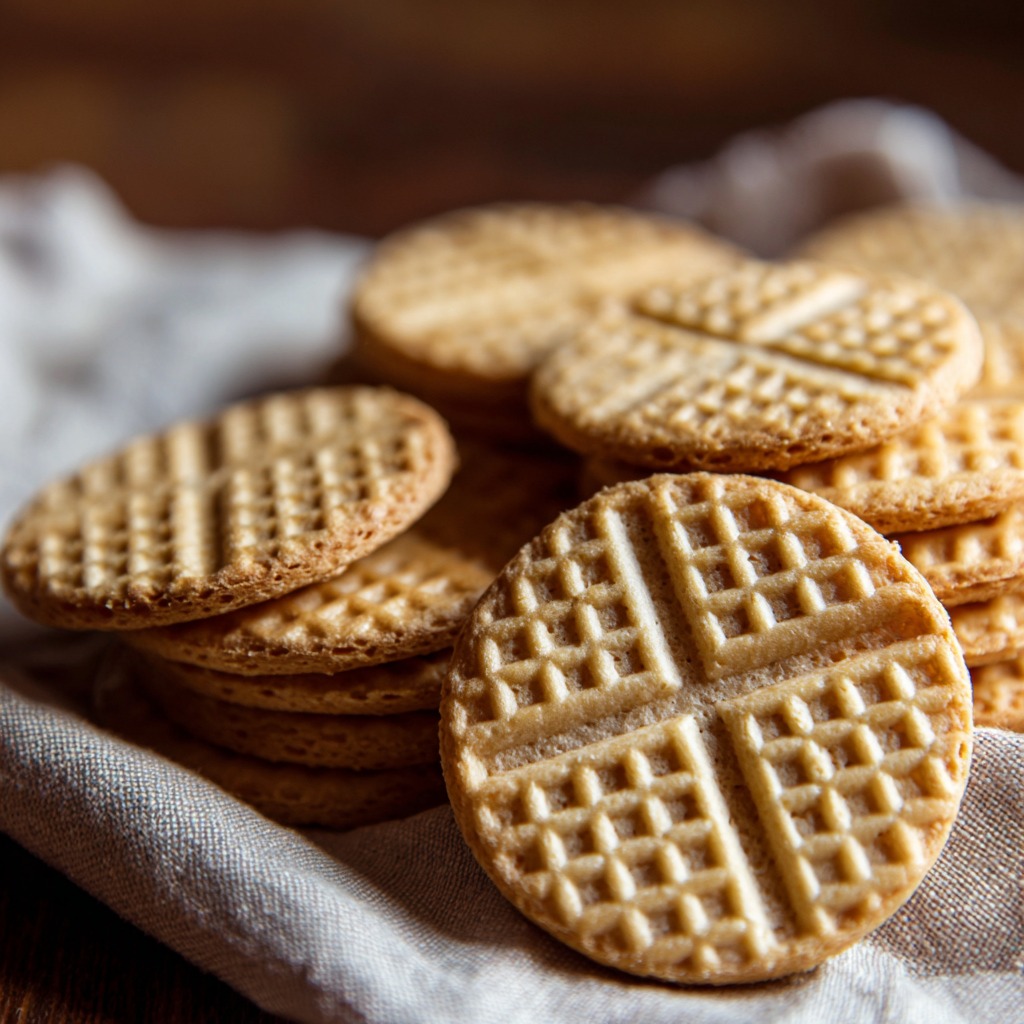
- Taste & Texture: These wafers are crisp, light, and not at all dense. They deliver the perfect crunch that makes you want to savour each bite. Whether you’re enjoying them during a ceremony or as an afternoon snack, their flavour will surprise you in the best way possible.
- Cost-Effective: Making communion wafers at home is an affordable alternative to purchasing them pre-made. All you need are simple ingredients that most of us already have in our kitchens, making it an economical choice.
- Easy to Make: Don’t let the sacred nature of these wafers fool you—this recipe is quick and straightforward to make. You don’t need any special equipment or baking skills. With just a few easy steps, you can have homemade wafers ready in no time!
If you’re a fan of other gluten-free recipes like gluten-free bread, you’ll find this wafer recipe just as satisfying. Both are perfect for anyone avoiding gluten but still looking for delicious, homemade options.
How to Make Gluten Free Communion Wafers Recipe
Quick Overview
Making communion wafers without gluten is a simple process. With just a few ingredients, you can prepare an entire batch in minutes. The recipe is easy to make, and you don’t have to worry about rising dough or yeast just bake, roll, and you’re ready to go! Additionally, they feature a soft, crisp texture that is perfect for their intended use.
Key Ingredients for Gluten Free Communion Wafers Recipe
Optional: A dash of sugar (if you prefer slightly sweet wafers) or a sprinkle of herbs (for added flavor).
Gluten-free all-purpose flour (about 1 cup): This is the base of your wafers. You can use a pre-mixed gluten-free flour blend to make things easier.
Water (1/4 cup): Helps bring the dough together. You may need a little more, depending on the consistency.
Olive oil (1 tablespoon): Adds a bit of richness to the dough and helps it crisp up in the oven.
Salt (1/4 teaspoon): Just a pinch to enhance the flavor.
Step-by-Step Instructions
Step 1: Prepare Your Oven and Baking Sheet
- Preheat the Oven: Start by preheating your oven to 350°F (175°C). This ensures the stove reaches the perfect temperature while you prepare the dough.
- Line a Baking Sheet: Take a baking sheet and line it with parchment paper. This will prevent the wafers from sticking and make cleanup easier.
Step 2: Mix Dry Ingredients
- Combine Dry Ingredients: In a medium-sized bowl, measure out the gluten-free all-purpose flour and salt. Whisk them together to distribute the salt throughout the flour evenly. This step helps to ensure that the flavour is consistent in every bite of your wafer.
Step 3: Add Wet Ingredients
- Combine Wet and Dry Ingredients: Slowly add the water and olive oil to the dry mixture. Stir the ingredients gently with a spoon or your hands, gradually bringing the mixture together into a dough.
- Adjust Consistency: If the dough feels too dry, add a little more water, one teaspoon at a time, until the dough holds together and is smooth but not sticky.
Step 4: Roll the Dough
Check for Evenness: Ensure the dough is rolled out uniformly so all wafers bake evenly. Uneven thickness can lead to some wafers being overdone while others are underbaked.
Prepare the Rolling Surface: Lay out a clean surface, such as parchment paper or a countertop. Lightly dust the surface with a small amount of gluten-free flour to prevent sticking.
Roll the Dough: Take the dough and place it on the prepared surface. Use a rolling pin to flatten it evenly to about 1/8-inch thickness. The thinner you roll the dough, the crispier the wafers will be.
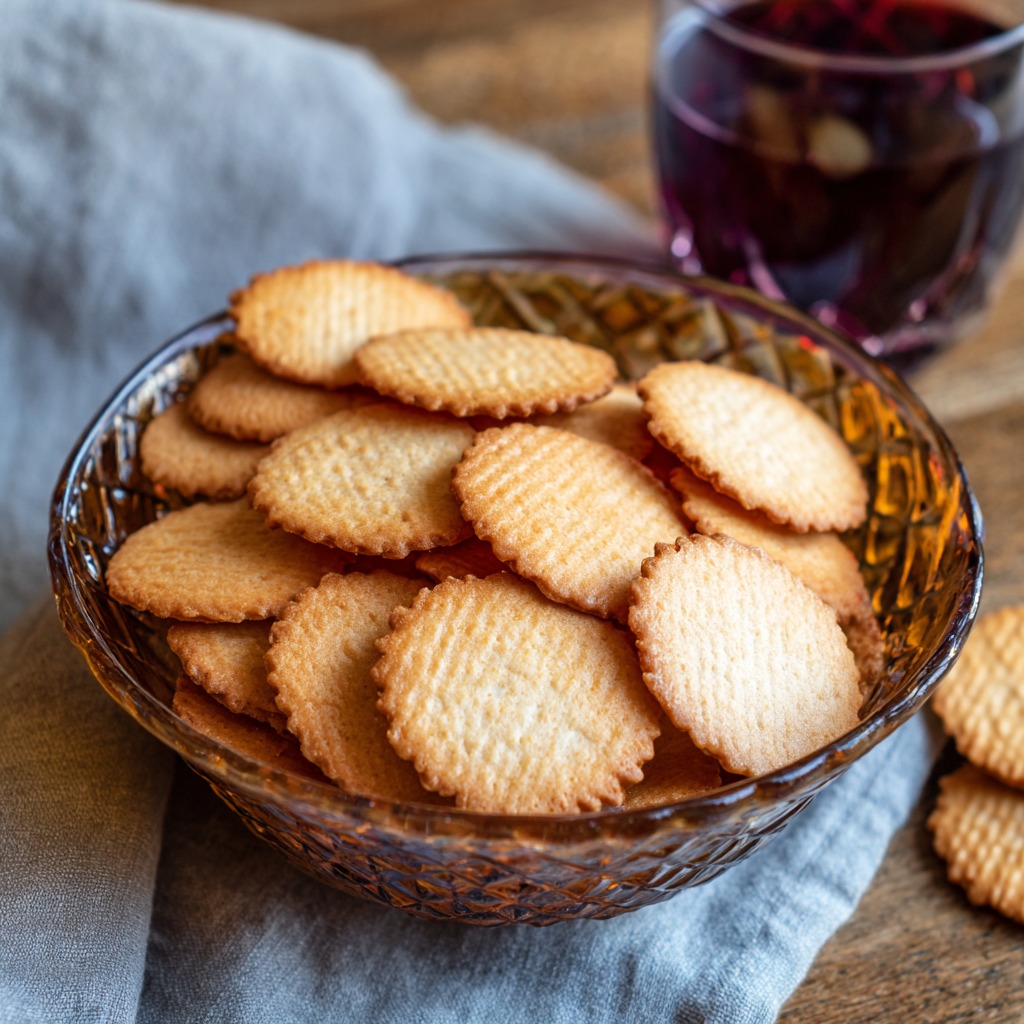
What to Serve Gluten Free Communion Wafers Recipe With
While gluten-free communion wafers are traditionally enjoyed on their own during religious ceremonies, there are plenty of other ways to enjoy these light, crispy wafers. Here are some creative and complementary options that can elevate your wafer experience:
1. Fruit Spreads or Jams
- Pair with Sweetness: If you’re enjoying these wafers outside of a ceremonial setting, try serving them with a spread like strawberry, apricot, or raspberry jam. The subtle sweetness balances the crisp, neutral flavour of the wafers. You can also pair them with honey or fruit preserves for a delightful, simple snack.
2. Cheese Platter
- Pair with Savoury Flavours: A variety of cheeses can complement the light texture of the gluten-free wafers. Choose soft cheeses like goat cheese, brie, or cream cheese, or add a bit of sharpness with aged cheddar or blue cheese. Include some olives or nuts on the side to enhance the flavour pairing.
3. Herbed Butter or Dips
- Perfect for a Light Snack: spread some homemade herbed butter or a creamy dip, such as hummus or tzatziki, on your wafers. The crisp texture of the wafer complements the smooth, rich dips perfectly, making each bite satisfying and flavorful.
4. Mediterranean Antipasto
- Add a Mediterranean Touch: Serve your gluten-free wafers as part of a Mediterranean antipasto platter. Pair them with marinated olives, sun-dried tomatoes, artichokes, and roasted red peppers for a delicious combination. The flavours will enhance the wafers’ subtle crunch and give you a unique combination of textures and tastes.
5. Soup or Stews
- Ideal for Dipping: Gluten-free communion wafers can be an excellent accompaniment to soups or stews. Their crisp, light texture makes them perfect for dipping into broths or thicker soups, such as tomato basil, lentil soup, or a hearty vegetable stew.
6. Herbal Teas or Infused Water
- Refreshing Beverages: Pair the wafers with a hot cup of herbal tea, such as chamomile, peppermint, or green tea, for a delightful experience. The subtle flavours of the tea complement the wafers without overpowering them. If you prefer something more extraordinary, try a glass of fruit-infused water, such as lemon and mint or cucumber and lime, which are refreshing choices.
7. Fresh Fruit
- Light and Refreshing: For a healthy and straightforward option, serve the wafers with a side of fresh fruit, such as sliced apples, grapes, or berries. The natural sweetness of the fruit enhances the wafer’s neutral flavour, making it an easy and refreshing snack.
By pairing gluten-free communion wafers with any of these suggestions, you’ll enhance their flavour and versatility, whether you’re serving them during a ceremony or enjoying them as a light snack!
Top Tips for Perfecting Gluten Free Communion Wafers Recipe
1. Pay Attention to Dough Consistency
- Don’t Let It Get Too Dry or Too Wet: The dough should be firm but not dry or crumbly. It should easily come together into a smooth ball. If the dough is too dry, it will crack when rolled out, while a dough that is too wet will be sticky and difficult to handle. Gradually add water, one teaspoon at a time, if needed, to adjust the texture.
2. Roll the Dough Thin
- Thin Is Better for Crispiness: The thinner you roll the dough, the crispier your communion wafers will be. Aim for about 1/8-inch thickness. Rolling the dough too thick will result in soft, chewy wafers, while thinner wafers will be light and crisp—just the way they should be.
3. Watch Your Baking Time
- Stay Close to the Oven: Gluten-free wafers cook quickly, so stay close by. Start checking them at around the 10-minute mark. You want the wafers to turn golden brown, but be cautious not to burn them. Keep an eye on them, as every oven is different and baking times may vary slightly.
4. Use Parchment Paper
- Easy Removal and Cleanup: To ensure that the wafers don’t stick to the baking sheet, line your baking sheet with parchment paper. It makes removal easier and prevents any sticky residue from ruining your wafers.
5. Add Flavour Variations
- Experiment with Herbs: While these wafers are traditionally plain, you can add subtle flavours to make them unique. Try adding a pinch of garlic powder, rosemary, or thyme to the dough for a herbed version that’s perfect for snacking or pairing with other dishes.
6. Ensure Uniform Dough Thickness
- Uniform Rolling for Even Baking: Ensure that you roll your dough as evenly as possible. Uneven dough can result in wafers that are too soft in some areas and overly crisp or even burned in others. You can use a ruler or your hands to press out any thicker spots while rolling gently.
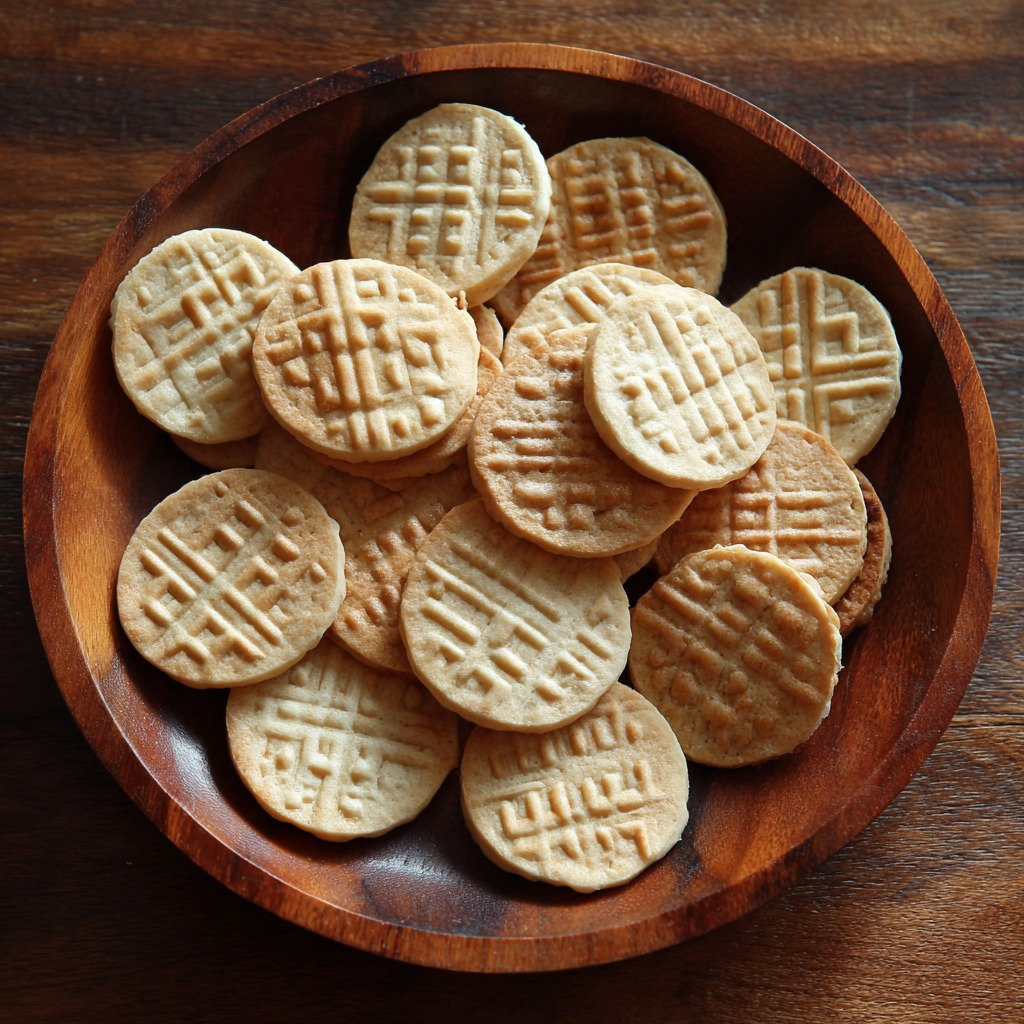
7. Use a Cookie Cutter for Perfect Shapes
- Consistency in Size: To ensure each wafer is of the same size, use a round cookie cutter or a glass to cut out circles from the dough. This not only gives them a uniform shape but also makes them look more polished and professional.
8. Let Wafers Cool Completely
- Crispness is Key: Once baked, allow your wafers to cool completely on the baking sheet before handling them. They will crisp up further as they cool, which is what makes them so deliciously crunchy.
By following these tips, you’ll ensure your gluten-free communion wafers come out perfectly every time—crisp, light, and full of flavour. Happy baking!
Storing and Reheating Tips for Gluten Free Communion Wafers Recipe
To ensure that your gluten-free communion wafers stay fresh and delicious for as long as possible, it’s essential to store and reheat them properly. Here are some helpful tips to keep your wafers in top condition:
Storing Gluten Free Communion Wafers Recipe
- Room Temperature Storage:
- Short-Term Storage: If you’re planning to enjoy the wafers within a few days, store them in an airtight container at room temperature. This will keep them crispy for up to 5 days. Make sure the container is sealed tightly to prevent moisture from affecting the texture.
- Refrigeration:
- For Longer Freshness: If you’d like to store the wafers for a longer period, you can refrigerate them. Place them in an airtight container or a ziplock bag to prevent them from absorbing odours from other foods. They’ll stay fresh in the fridge for up to 2 weeks.
- Freezing:
- Long-Term Storage: You can freeze gluten-free communion wafers to keep them for an extended period. To freeze, place the wafers in a single layer on a baking sheet and freeze for about 1 hour, or until they’re firm. Then, transfer the wafers to an airtight freezer-safe bag or container. This will help prevent them from sticking together. They can be stored in the freezer for up to 3 months.
Reheating Gluten Free Communion Wafers Recipe
- Reheating in the Oven:
- Restoring Crispiness: To reheat your wafers and bring back their crispy texture, preheat your oven to 350°F (175°C). Place the wafers on a baking sheet and warm them for about 5-7 minutes. Keep an eye on them to ensure they don’t overcook or burn. This method will refresh the texture, making them as crispy as when they were first baked.
- Reheating in a Toaster Oven:
- Quick and Easy: If you just need to reheat a small batch, a toaster oven works perfectly. Set it to a low setting (about 300°F) and heat for 3-5 minutes, checking to ensure the wafers are just warm and crisp.
- Microwave (for quick reheating):
- Not Ideal for Crispiness: Although you can microwave your wafers, it’s not the best option if you want to maintain their crispiness. Place them on a microwave-safe plate and heat for 10-15 seconds. However, they may lose their crisp texture and become softer, so use this method only if you’re in a rush.
By following these storage and reheating tips, you’ll be able to enjoy your gluten-free communion wafers at their best, whether you’re serving them fresh or storing them for later!
Health Benefits of Gluten Free Communion Wafers Recipe
| Health Benefit | Description |
|---|---|
| Gluten-Free | Safe for those with celiac disease or gluten intolerance. |
| Low in Calories | A light option, perfect for those watching their calorie intake. |
| Easy to Digest | Simple ingredients make them gentle on the digestive system. |
| Dairy-Free (Optional) | Can be made dairy-free, ideal for lactose intolerant individuals. |
| Heart-Healthy Fats | Olive oil provides monounsaturated fats, supporting heart health. |
| No Added Preservatives | A natural, clean snack with no artificial additives. |
Gluten Free Communion Wafers Recipe From DishBloom!
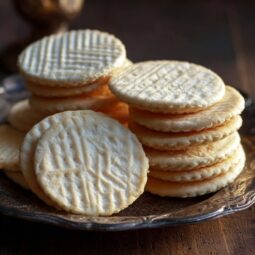
Gluten-Free Communion Wafers
Equipment
- Oven
- Baking sheet
- Parchment paper
- Mixing bowl
- Rolling Pin
- Round cookie cutter or glass
- Measuring spoons and cups
Ingredients
- 1 cup gluten-free all-purpose flour
- 1/4 teaspoon salt
- 1/4 cup water
- 1 tablespoon olive oil
- Optional: A dash of sugar or herbs for extra flavor
Instructions
- Preheat the Oven: Preheat your oven to 350°F (175°C). Line a baking sheet with parchment paper.
- Mix Dry Ingredients: In a medium-sized bowl, whisk together the gluten-free flour and salt.
- Add Wet Ingredients: Slowly add the water and olive oil to the dry ingredients. Stir until the dough comes together. If the dough feels too dry, add a little more water.
- Roll the Dough: Place the dough onto a sheet of parchment paper and roll it out to about 1/8-inch thickness.
- Cut the Wafers: Use a round cookie cutter or glass to cut the dough into small circles.
- Bake: Place the wafers on the prepared baking sheet and bake for 12-15 minutes or until golden brown and crispy.
- Cool: Let the wafers cool completely on the baking sheet before serving.

Notes
Conclusion
Making wafers for communion that are gluten-free at home isn’t only a straightforward and enjoyable procedure. Still, it can also provide an incredibly delicious and meaningful option that anyone can enjoy, regardless of their dietary restrictions. These wafers are ideal for those who want to mark the holy occasion by creating homemade food that is both gluten-free and delicious. With only a handful of ingredients, you can make thin, crisp wafers that are both delicious and nutritious, while preserving the authenticity of the tradition.
When you’re planning to host a religious event of significance or just looking for a unique, simple option, these wafers provide a fantastic balance of taste, flavour, and simplicity. Flavorful benefits, ranging from being gluten-free to providing healthy fats for your heart, make them a better option. Why not give this simple recipe a shot and bring a little home-cooked care to your next gathering?
Share Your Twist!
Now that you’ve got the basics of making gluten-free communion wafers, it’s time to get creative! This recipe serves as an excellent foundation for experimentation. Do you have a favourite herb or spice you’d like to add? Maybe a dash of garlic powder or rosemary to bring a savoury twist to the wafers? Or perhaps you’d prefer a hint of sweetness with a sprinkle of cinnamon or nutmeg?
The beauty of this recipe lies in its adaptability, so don’t hesitate to make it your own. You can also try adding different flour blends for a unique texture or pair the wafers with your favourite spreads and dips. Whatever you decide, we’d love to hear about it! Share your own version of these wafers and let us know what creative touches you added to make them even more special. Happy baking!
FAQs: Gluten Free Communion Wafers Recipe
Frequently Asked Questions (FAQs)
What are gluten free communion wafers?
Gluten free communion wafers are thin, crisp sacramental bread made without gluten, suitable for people with celiac disease or gluten sensitivities.
Can I make these wafers ahead of time?
Yes, you can make them in advance and store them in an airtight container for up to 1 week at room temperature. They stay crisp when stored properly.
Do I need any special gluten free flour?
Use a 1:1 gluten free all-purpose flour blend for best results. Make sure it is certified gluten free if serving to someone with celiac disease.