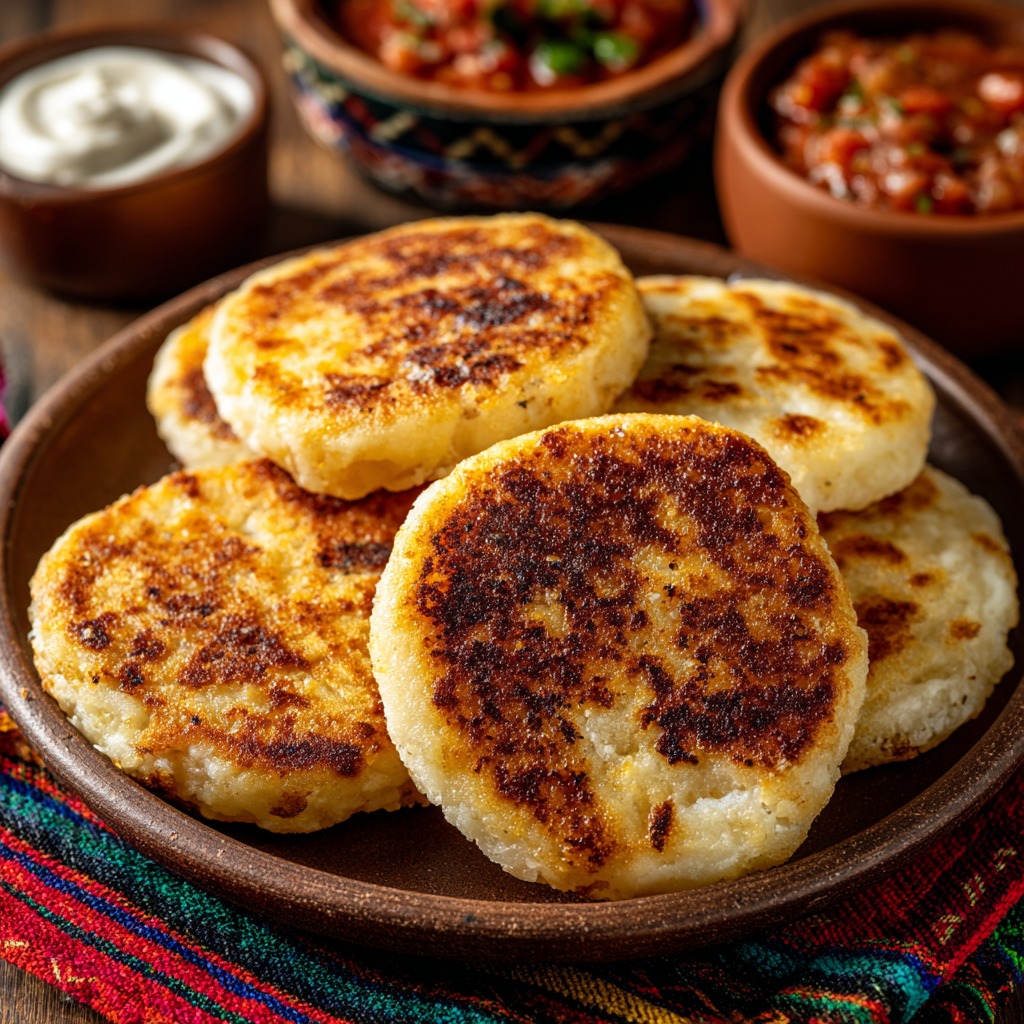
Puerto Rican Arepas Recipe are a delicious and traditional dish that brings the vibrant flavours of the Caribbean right to your table. Unlike their Venezuelan or Colombian counterparts, Puerto Rican arepas are made with cornmeal but are often shaped differently and have a unique texture. These soft, round cakes can be served as a side dish or stuffed with a variety of fillings, making them incredibly versatile for any meal.
The key to a perfect Puerto Rican arepa lies in the quality of the ingredients. The base consists of masa harina (cornmeal), salt, and water, often with the addition of cheese or butter for extra flavour and richness. The dough is then formed into thick patties and fried to a golden crisp on the outside, with a soft, moist centre. Puerto Rican arepas can be served for breakfast, as a snack, or as a savoury side with meats or stews.
For a truly authentic Puerto Rican arepas recipe, it’s important to get the technique right. Many families have passed down their own versions of the dish, with variations that might include the addition of herbs, spices, or even meats like pork. No matter the twist, Puerto Rican arepas are a comforting, satisfying food that can be easily adapted to different tastes, making it a must-try for anyone looking to explore Puerto Rican cuisine.

- What are Puerto Rican Arepas?
- How to Make Puerto Rican Arepas Recipe
- What to Serve Puerto Rican Arepas Recipe With
- Top Tips for Perfecting Puerto Rican Arepas Recipe
- 1. Use Warm Water for the Dough
- 2. Don't Overwork the Dough
- 3. Get the Right Consistency
- 4. Preheat the Skillet or Pan
- 5. Cook the Arepas in Batches
- 6. Use a Cast Iron Skillet
- 7. Don't Skip the Cheese
- 8. Adjust the Thickness for Texture
- 9. Rest the Arepas After Cooking
- 10. Experiment with Flavour Add-ins
- 11. Don't Be Afraid to Stuff Them
- 12. Adjust Cooking Time Based on Thickness
- 13. Serve Immediately for Best Texture
- Storing and Reheating Tips for Puerto Rican Arepas Recipe
- Health Benefits of Puerto Rican Arepas Recipe
- Puerto Rican Arepas Recipe From DishBloom!
- Conclusion
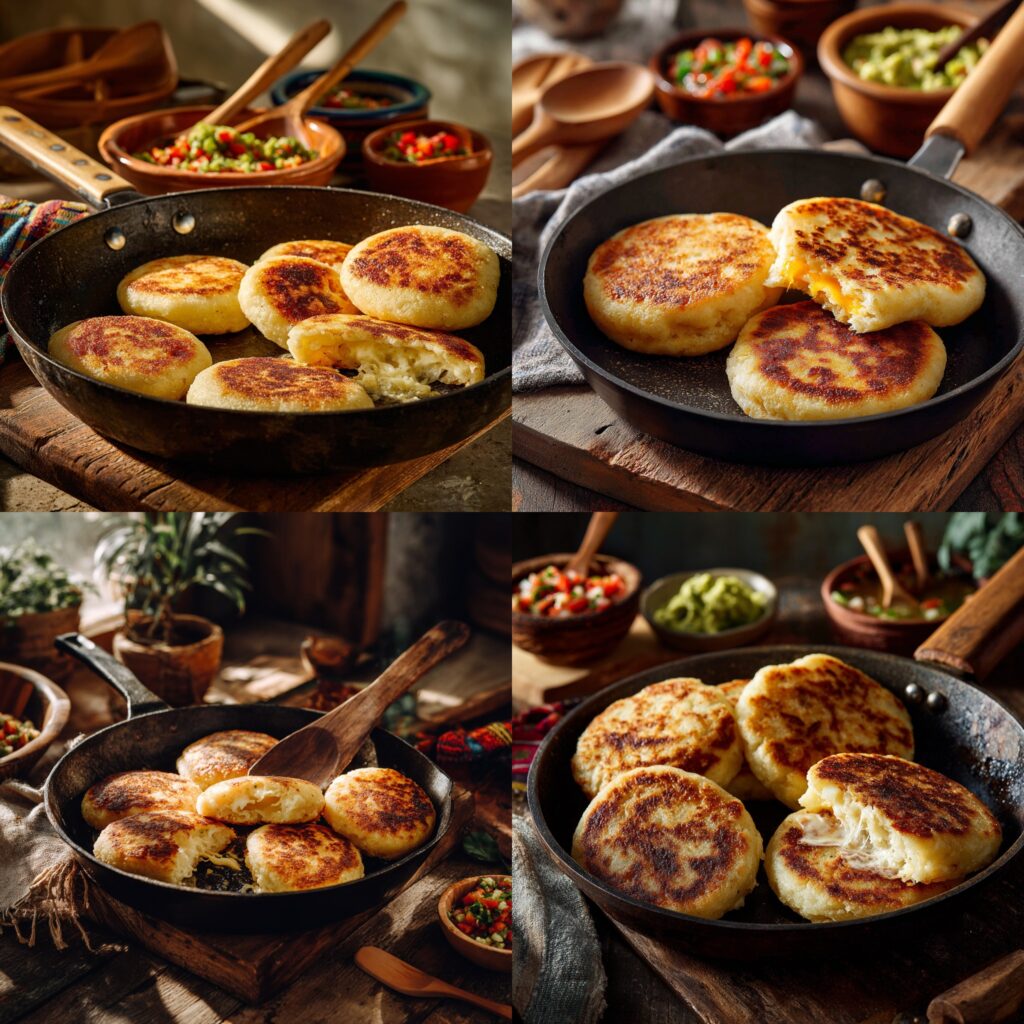
What are Puerto Rican Arepas?
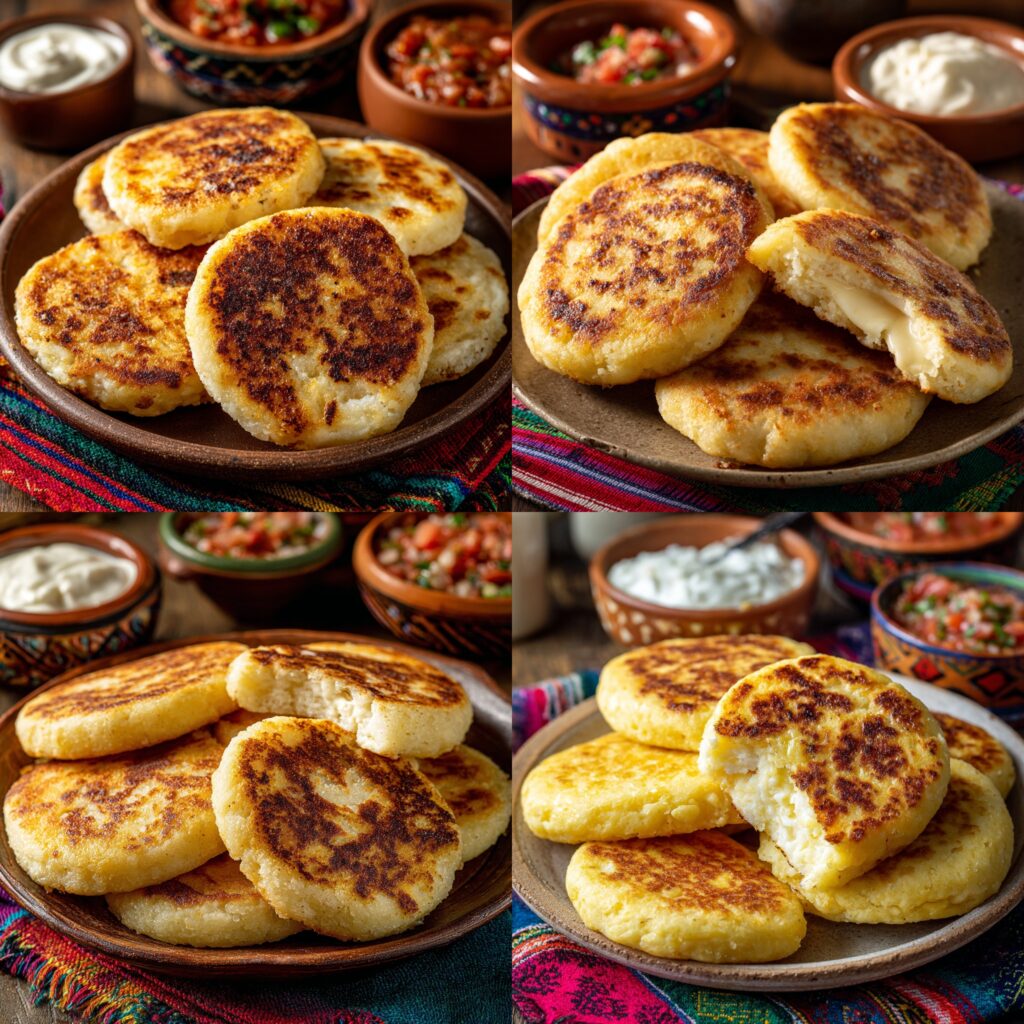
So, what exactly is a Puerto Rican arepa? Is it just a small, round cake, or is there more to it? Well, it’s definitely more than just a “cake” – it’s a bite-sized piece of Puerto Rican culture! In essence, these arepas are thick cornmeal patties, fried until crispy on the outside and soft on the inside. Imagine the fluffy centre of cornbread, but with a slightly savoury and crisp bite that pairs perfectly with cheese, meats, or your favourite toppings.
The name “arepa” likely comes from the Spanish word for corn, “arroz,” which is a fitting homage to the key ingredient. Why does it have such a simple name? Because sometimes, the best dishes don’t need complicated titles; they speak for themselves. As they say, the way to a man’s heart is through his stomach, and Puerto Rican arepas Recipe will certainly win you over with their heartwarming simplicity.
Why You’ll Love This Puerto Rican Arepas Recipe
What’s not to love about Puerto Rican arepas? These crispy, golden cakes are the perfect combination of savoury, comforting, and versatile. They’re quick to make, requiring only a few ingredients, and can be enjoyed at any meal whether for breakfast, lunch, or dinner. One of the best things about making them at home is the cost-saving benefit. You can easily whip up a batch without breaking the bank, as the ingredients are simple and affordable. Plus, they can be paired with so many delicious toppings, like creamy cheese, shredded pork, or even sautéed vegetables, to create a dish that satisfies everyone.
If you’ve enjoyed our easy-to-make homemade tortillas, you’ll find Puerto Rican arepas to be just as satisfying but with a twist of Caribbean flavour. Their crispy texture and savoury centre make them the perfect complement to any meal, and they’re versatile enough to customise with different fillings and toppings. So, what are you waiting for? Grab your ingredients, and let’s get cooking!
How to Make Puerto Rican Arepas Recipe
Quick Overview
Puerto Rican arepas Recipe are easy to make, and the best part? They’re ready in less than 30 minutes! With minimal ingredients and straightforward steps, they’re perfect for busy weeknights or weekend family meals. You’ll get a crispy outer layer with a soft, warm interior, making them perfect for pairing with anything from grilled meats to a dollop of sour cream. Here’s a quick breakdown of how to make these delicious treats!
Key Ingredients for Puerto Rican Arepas Recipe
To make your own Puerto Rican arepas, you’ll need:
- 1 ¼ cups warm water
- 1 teaspoon salt
- 2 cups masa harina (corn flour)
- 1 tablespoon butter (optional, for added richness)
- 1 cup cheese (optional, such as mozzarella or cheddar for stuffing)
These ingredients are simple and accessible, making it easy to create the perfect Puerto Rican arepa right in your kitchen. If you want to experiment, you can add herbs or spices like garlic powder or chilli flakes to give your arepas a personal touch.
Step-by-Step Instructions
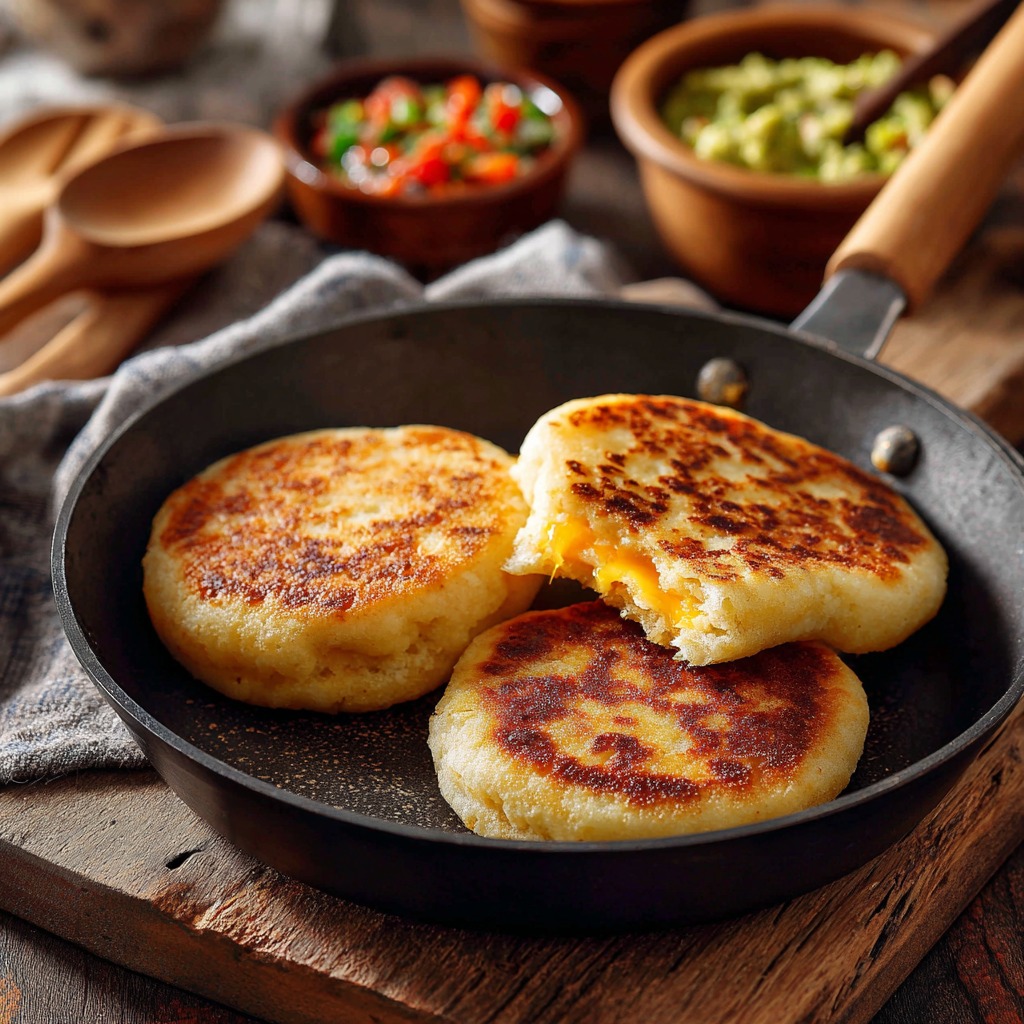
Stuff with cheese (optional): If you’d like to add cheese, make a small slit in the middle of each arepa after cooking and stuff it with shredded cheese. Then return it to the skillet for another minute to melt the cheese inside.
Prepare the dough: In a large bowl, combine the masa harina, warm water, and salt. Stir until the mixture forms a dough. If you want extra richness, add the butter now.
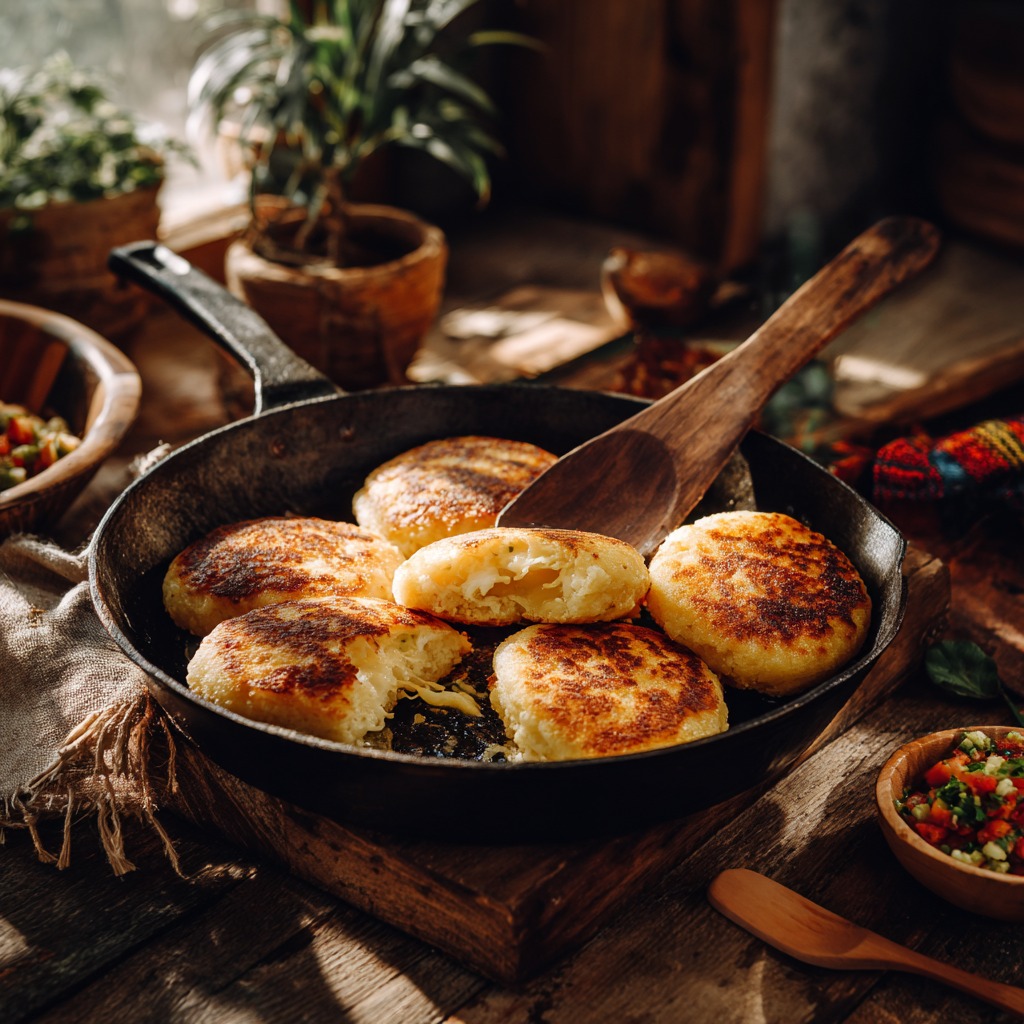
Shape the arepas: Divide the dough into 6-8 equal portions. Roll each portion into a ball, then flatten it into a thick patty about ½-inch thick.
Cook the arepas: Heat a large skillet over medium heat. If you like a crispy exterior, add a bit of oil to the pan. Place each arepa in the skillet and cook for 3-4 minutes per side, or until golden brown and crispy.
What to Serve Puerto Rican Arepas Recipe With
Puerto Rican arepas are incredibly versatile and can be paired with a wide variety of dishes, making them a perfect accompaniment to many meals. Whether you’re enjoying them for breakfast, lunch, or dinner, these arepas can elevate your meal with their crispy texture and savoury flavour. Here are a few ideas for what to serve with Puerto Rican arepas Recipe to create a balanced and flavorful meal:
Grilled Meats
Arepas make a perfect side dish to grilled meats like chicken, pork, or beef. The crispy exterior and soft centre of the arepas complement the smoky flavours of grilled meats, creating a well-rounded meal. Try serving them alongside grilled pork chops, chicken kebabs, or steak for a satisfying combination.
Sautéed Vegetables
If you’re looking for a lighter option, sautéed vegetables make a fantastic pairing with Puerto Rican Recipearepas. The sweetness of bell peppers, onions, zucchini, and spinach adds a fresh contrast to the richness of the arepas. You can even drizzle a bit of olive oil and sprinkle some garlic for extra flavour.
Mofongo
For an authentic Puerto Rican experience, serve your arepas alongside mofongo, a mashed plantain dish that’s often paired with meats or seafood. The combination of both dishes creates a truly Caribbean-inspired meal.
Salads
To balance out the richness of the arepas, pair them with a light tossed salad. A simple salad of mixed greens, tomatoes, and cucumbers, dressed with a citrusy vinaigrette, adds a refreshing contrast and a touch of acidity to the meal.
Avocado Salsa or Guacamole
For an extra burst of flavour, serve your arepas with avocado salsa or guacamole. The creamy texture of the avocado pairs wonderfully with the crispiness of the arepas, adding a rich, smooth element that enhances the overall dish.
Beans and Rice
A classic side dish that pairs well with nearly any meal is rice and beans. You can serve your arepas with a side of Puerto Rican-style rice and beans, or simply black beans with a touch of garlic and onions. This combination offers a hearty, filling meal that will leave everyone satisfied.
Tropical Drinks
To complete your Puerto Rican meal, consider pairing your arepas with a refreshing tropical drink. Whether it’s a glass of chilled hibiscus tea, a classic mango smoothie, or a cool piña colada, a tropical beverage will complement the island-inspired flavours of the dish.
Top Tips for Perfecting Puerto Rican Arepas Recipe
Making the perfect Puerto Rican arepas Recipe can be a breeze once you know a few key tips and tricks. Whether you’re a beginner or an experienced cook, these tips will help you achieve the ideal texture and flavour every time. Here are some valuable suggestions to make sure your arepas turn out crispy on the outside and soft on the inside:
1. Use Warm Water for the Dough
For a smoother dough that is easier to work with, always use warm water. The warm water helps the masa harina (corn flour) absorb the moisture better, leading to a dough that’s soft and pliable. It also helps activate the starches in the cornmeal, making the arepas fluffier.
2. Don’t Overwork the Dough
When mixing your dough, it’s important to combine the ingredients just until the dough comes together. Overworking the dough can result in tough arepas. Once you have the dough, let it rest for a few minutes to allow the moisture to hydrate the masa harina fully. This will make it easier to shape and cook.
3. Get the Right Consistency
The dough should be moist but not too sticky. It should hold together when you form it into a ball, but not fall apart. If it feels too dry, add a little extra water, a tablespoon at a time. If it’s too wet, add more masa harina to balance it out.
4. Preheat the Skillet or Pan
For the best results, make sure your skillet or frying pan is preheated before placing the arepas in it. A medium-high heat is ideal to achieve the perfect crispy exterior. If you’re using oil, let it heat up before adding the arepas to ensure they get a golden brown crispiness.
5. Cook the Arepas in Batches
Avoid overcrowding the skillet. Cooking the arepas in batches gives each one enough space to fry properly, ensuring they cook evenly and get a crisp, golden crust. It also prevents them from sticking together.
6. Use a Cast Iron Skillet
For an authentic, crispy crust, a cast-iron skillet is ideal. It distributes heat evenly and ensures the perfect sear. If you don’t have one, any non-stick skillet will work, but cast iron is the traditional choice.
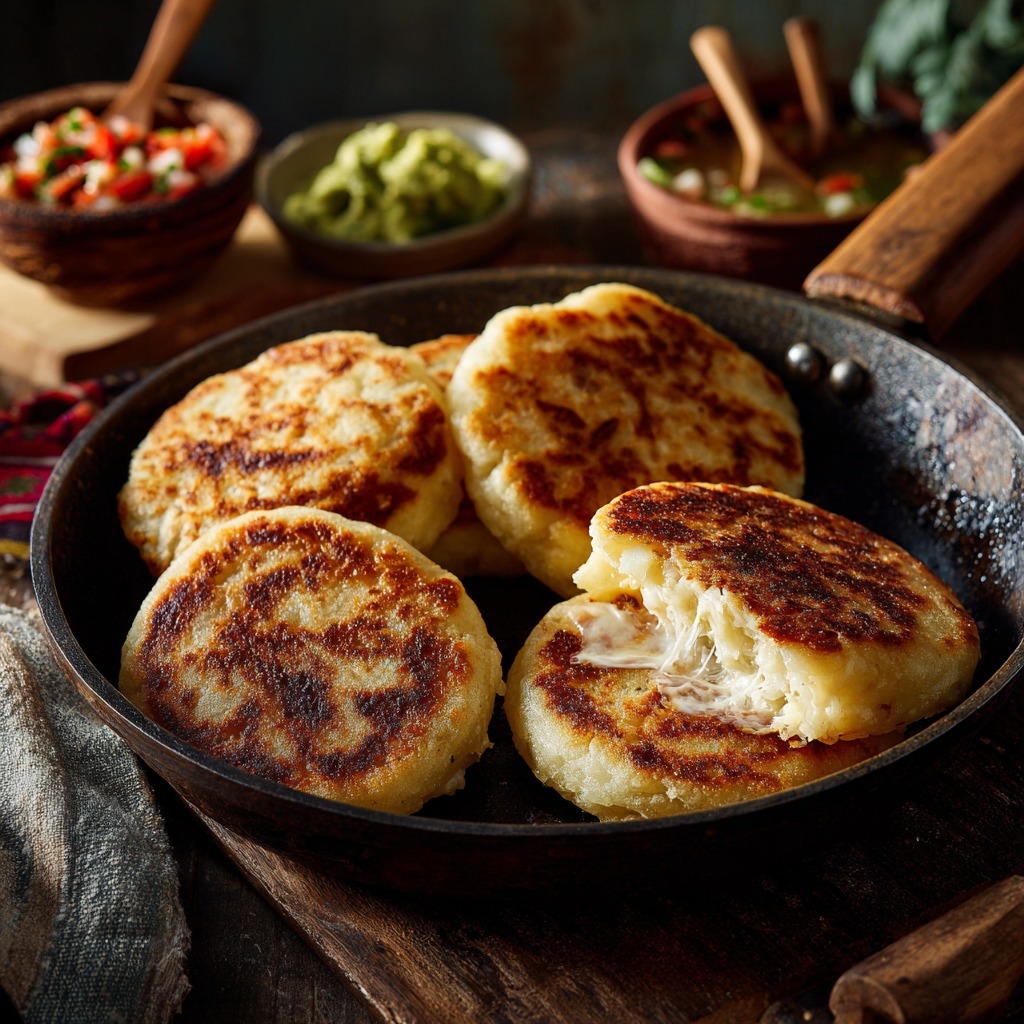
7. Don’t Skip the Cheese
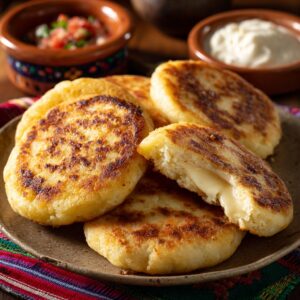
While Puerto Rican arepas are delicious on their own, stuffing them with cheese elevates the dish to another level. Try using mozzarella, cheddar, or even a tangy local cheese for an authentic taste. After cooking, you can slice the arepa open and stuff it with melted cheese or serve it on top for a gooey, satisfying treat.
8. Adjust the Thickness for Texture
Puerto Rican arepas are typically thicker than their Venezuelan counterparts, but you can adjust the thickness to your liking. If you prefer a fluffier texture, make the patties thinner. For a heartier, more filling version, keep them a bit thicker.
9. Rest the Arepas After Cooking
After frying the arepas, let them rest for a few minutes on a paper towel to drain any excess oil. This also helps them firm up slightly, which makes them easier to cut and fill.
10. Experiment with Flavour Add-ins
While the classic Puerto Rican arepa is simple, you can experiment by adding flavours to the dough. Try incorporating garlic powder, onion powder, or herbs like oregano for a more savoury touch. If you like spice, a little chilli powder or cayenne pepper can kick your arepas.
11. Don’t Be Afraid to Stuff Them
While Puerto Rican arepas are great plain, stuffing them is a fun and delicious way to enjoy them. After cooking, cut a slit in the middle and fill with your favourite ingredients, like shredded beef, chicken, cheese, or vegetables. For a more traditional touch, try adding pulled pork or sofrito for a truly Puerto Rican flavour.
12. Adjust Cooking Time Based on Thickness
If you make thicker arepas, you may need to cook them for a bit longer to ensure they are fully cooked through. Lower the heat slightly if needed to avoid burning the outside while giving the inside time to cook. A good way to check is by cutting one open; if the inside is still doughy, give it a bit more time.
13. Serve Immediately for Best Texture
Arepas are best enjoyed right after they’ve been cooked. Their crispy exterior is at its peak when they’re freshly fried, so try to serve them immediately. If you have leftovers, store them properly (see storing tips) and reheat them in a hot skillet to restore their crispness.
Storing and Reheating Tips for Puerto Rican Arepas Recipe
If you’re lucky enough to have leftover Puerto Rican arepas Recipe, don’t worry—these treats can be easily stored and reheated for later enjoyment. Whether you want to enjoy them the next day or freeze them for a future meal, here’s everything you need to know to keep your arepas fresh and crispy.
Storing Leftover Arepas
- Room Temperature:
If you plan to eat the arepas within a few hours, you can store them at room temperature. Simply place them on a wire rack or paper towel to allow them to cool completely. This prevents moisture from building up and making them soggy. After they’re cooled, store them in an airtight container or a ziplock bag to keep them fresh. - Refrigerating:
For longer storage, refrigerate your arepas in an airtight container or wrap them tightly in plastic wrap. They will stay fresh in the fridge for up to 3 days. Be sure to let them cool completely before storing to prevent condensation inside the container. - Freezing:
To store arepas for an extended period, freezing is your best option. After cooking and cooling, wrap each arepa individually in plastic wrap or aluminum foil. Then place them in a freezer-safe bag or container to prevent freezer burn. Frozen arepas can be kept for up to 3 months. Freezing them individually makes it easy to grab just one or two when you’re ready to eat.
Reheating Arepas
- On the Stove (Best Method):
The best way to reheat arepas and maintain their crispy texture is to use a skillet or griddle. Preheat a cast iron or non-stick skillet over medium heat. Place the arepas in the skillet without adding oil. Heat them for 2-3 minutes on each side until they’re crispy again. If the arepas were frozen, you may want to let them thaw at room temperature for about 10 minutes before reheating to ensure even heating. - In the Oven:
If you’re reheating a batch of arepas, the oven is a great option to ensure they crisp up properly. Preheat the oven to 350°F (175°C) and place the arepas on a baking sheet lined with parchment paper. Heat them for about 10 minutes, flipping halfway through for even crispiness. This method works well if you have several arepas to reheat at once. - In the Microwave (Quick but Less Crispy):
If you’re short on time, you can microwave arepas, but they may not retain the crispy texture as well. Place the arepa on a microwave-safe plate and cover it with a damp paper towel to prevent it from drying out. Microwave for 20-30 seconds or until heated through. To restore some crispiness afterward, you can briefly toast them in a hot skillet for a minute or two.
Bonus Tip: Reheating Frozen Arepas
If you’ve frozen your arepas, don’t worry about thawing them before reheating. You can take them straight from the freezer and heat them in a skillet or oven as mentioned above. Just add a little extra time to ensure they’re heated through. Frozen arepas are best reheated on medium-low heat to avoid burning the outside while the inside heats up fully.
Health Benefits of Puerto Rican Arepas Recipe
Puerto Rican arepas Recipe are not only a delicious and satisfying dish, but they also offer several health benefits, especially when made with nutritious ingredients. Below is a table highlighting some of the key health benefits of Puerto Rican arepas, based on their main ingredients:
| Ingredient | Health Benefit |
|---|---|
| Cornmeal (Masa Harina) | Cornmeal is a great source of fiber, which aids in digestion and helps regulate blood sugar levels. It also contains essential minerals like magnesium, which is important for muscle function and bone health. |
| Cheese (optional) | Adding cheese to your arepas increases their protein and calcium content, both of which are vital for muscle repair and bone strength. Opt for lower-fat cheese options if you’re watching your calorie intake. |
| Butter (optional) | Butter adds a creamy richness to the dough, and while high in fat, it provides fat-soluble vitamins like A, D, E, and K in moderation. You can substitute with olive oil for a healthier fat. |
| Water | Water is essential for hydration and supports many vital functions in the body, from digestion to circulation. Using warm water in the dough also helps activate the masa harina and create a softer texture. |
| Herbs and Spices (optional) | Adding spices like garlic, onion, or chili can enhance the flavor of arepas without adding extra calories. Garlic, for example, is known for its antioxidant properties and potential heart health benefits. |
| Avocado (for topping) | If you choose to serve your arepas with avocado, you’re adding healthy fats (monounsaturated fats), which are good for heart health. Avocado also provides potassium, which helps maintain proper electrolyte balance. |
eneral Health Considerations:
- Low in Sugar: Puerto Rican arepas are naturally low in sugar, making them a great option for anyone trying to reduce their sugar intake or manage blood sugar levels.
- Customizable for Healthier Options: The beauty of arepas is their versatility. You can easily swap in healthier ingredients, such as whole-grain masa harina for extra fiber, or skip the cheese and butter for a lighter version.
While Puerto Rican arepas are a delicious treat, they can also offer a range of health benefits, especially when made with wholesome ingredients. Enjoy them as part of a balanced diet, and they can easily fit into a healthy eating plan!
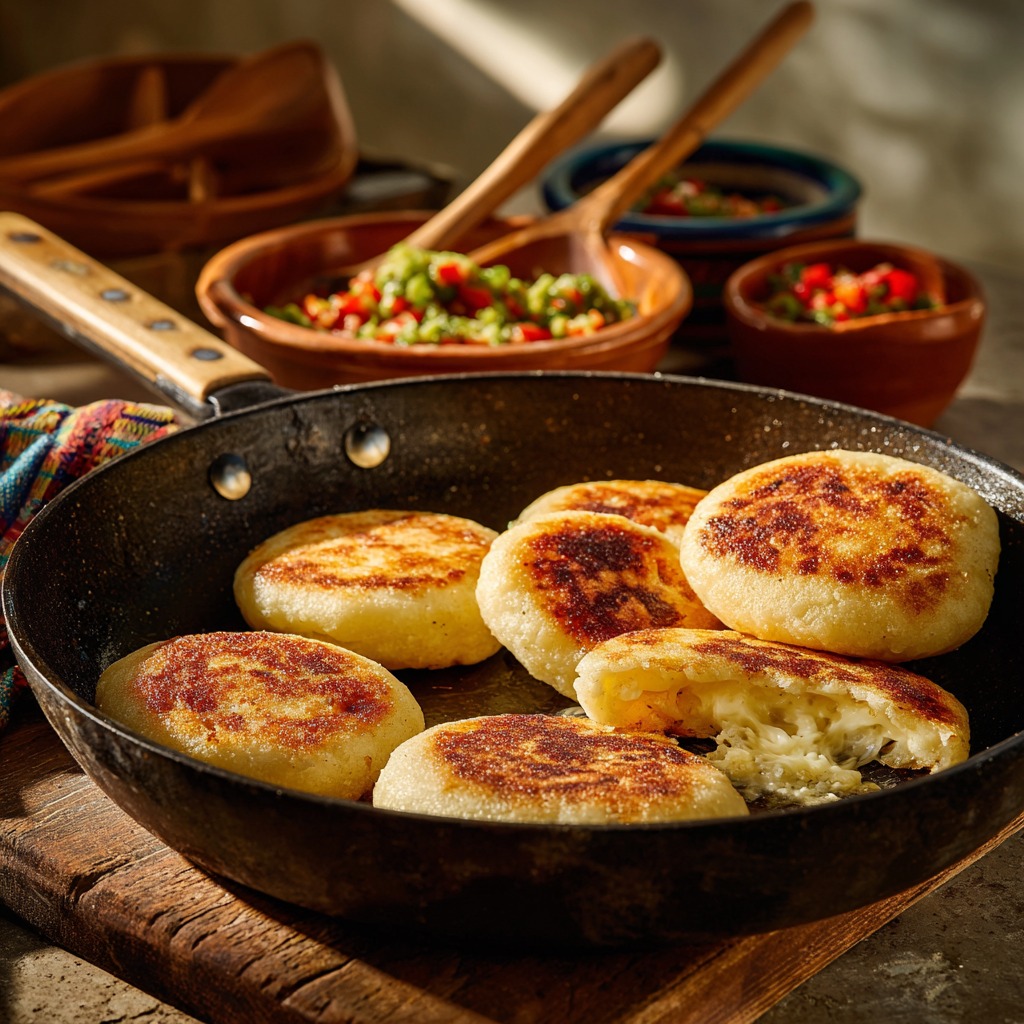
Puerto Rican Arepas Recipe From DishBloom!
Puerto Rican Arepas Recipe
Equipment
- Large mixing bowl
- Skillet or cast iron pan
- Spatula
- Measuring cups and spoons
- Paper towels (for draining excess oil)
Ingredients
- 2 cups masa harina corn flour
- 1 ¼ cups warm water
- 1 teaspoon salt
- 1 tablespoon butter optional, for added richness
- 1 cup cheese optional, such as mozzarella or cheddar for stuffing
- Oil for frying, optional
Instructions
- Prepare the dough: In a large mixing bowl, combine the masa harina, warm water, and salt. Stir until the mixture forms a dough. If desired, add 1 tablespoon of butter for richness.
- Shape the arepas: Divide the dough into 6-8 equal portions. Roll each portion into a ball and flatten it into a thick patty about ½ inch thick.
- Cook the arepas: Heat a skillet or cast iron pan over medium heat. Add a little oil if desired. Place each arepa in the pan and cook for 3-4 minutes per side, or until golden brown and crispy.
- Add cheese (optional): If you want to stuff your arepas with cheese, make a small slit in the center of each arepa and stuff with your preferred cheese. Return to the skillet for an additional minute to melt the cheese.
Notes
- For extra flavor, feel free to add garlic powder, onion powder, or chili flakes to the dough.
- If you prefer a healthier option, skip the butter and cheese or use olive oil instead of frying in excess oil.
- If you have leftovers, store arepas in an airtight container in the fridge for up to 3 days. Reheat in a skillet for a crispy finish.
- Freezing is a great way to store arepas for up to 3 months. Wrap them individually and store in a freezer-safe bag. Reheat directly from frozen in a skillet or oven.
Conclusion
Puerto Rican arepas are a delightful and versatile dish that brings the rich flavours of the Caribbean to your table. Whether you enjoy them as a savoury snack, a side dish, or as part of a larger meal, they’re sure to impress with their crispy texture and soft, flavorful interior. The beauty of arepas lies in their simplicity; just a few basic ingredients are needed to create something both delicious and satisfying. With options to customise them to your taste, whether with cheese, meats, or vegetables, they offer endless possibilities for variation.
Not only are Puerto Rican arepas easy to make, but they’re also a fun and approachable way to introduce Caribbean cuisine into your kitchen. With the ability to store and reheat them for later, they’re perfect for meal prep or enjoying throughout the week. So why wait? Give this recipe a try, and soon, you’ll be enjoying the crispy, golden goodness of Puerto Rican arepas in the comfort of your own home.